
.jpg-40x40.webp "Magnetic Snaps Buttons")

.jpg-40x40.webp "Prong Snap Fasteners for Baby Clothes")


.jpg-40x40.webp "Curved Snaps Buttons")


.jpg-40x40.webp "Snap Fasteners Half Dome type")
-no5-k0010%20(3).jpg-40x40.webp "Eyetlets")


-K0014.png-40x40.webp "Steel Eyelets and Iron Metal Grommets")

.jpg-40x40.webp "Flat Brass Eyelets and Grommets")

.jpg-40x40.webp "Aluminum Eyelets and Grommets")


.jpg-40x40.webp "Galvanized Eyelets and Grommets")


.jpg-40x40.webp "Grommet Punching Dies")
.jpg-40x40.webp "Hole Cutter Tools and Punching Dies")


.jpg-40x40.webp "Pearls Types")


.jpg-40x40.webp "Rivets")


.jpg-40x40.webp "Water-Repellent Jacket Zippers")


.jpg-40x40.webp "Tires")

.jpg-40x40.webp "Round Braided Elastic Cord")


.png-40x40.webp "Enameled Buttons")


.png-40x40.webp "Two Hole Sewing Buttons")


.jpg-40x40.webp "Carabiner Clips, Snap Hooks and Bag Hooks")


-PhotoRoom.png-40x40.webp "Spring Rings, Key Rings and Snap Clamps")


.png-40x40.webp "Hook and Eye Closures Sew-On")


.png-40x40.webp "Bag Making Kits")

.png-40x40.webp "Continuous Zipper Sets")


.jpg-40x40.webp "Bra Underwires")



-no5-k0010%20(3).jpg-590x590.webp "Eyelets and Grommets")
.jpg-590x590.webp "Rivets")
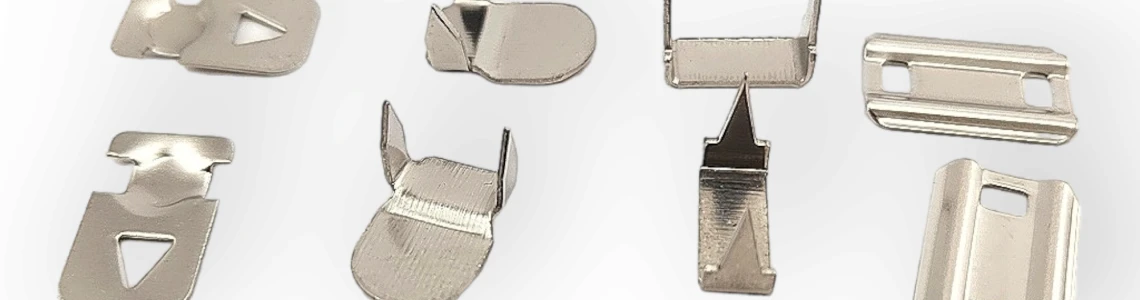
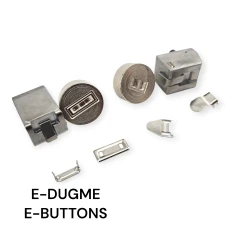
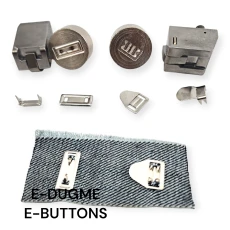
Trouser hook-and-bar closures keep the overlapping waistband edges aligned on tailored trousers, dress slacks and certain skirts. A hook engages a matching metal bar or receiving component; depending on the product, the assembly may be sewn or installed with dedicated setting dies. Choosing a fastener means checking the actual closing geometry, waistband thickness and fitting method rather than relying on the metal finish alone. This guide compares the E-Düğme stainless and brass hook sets, large-size models and the A010/A050 installation dies that are available as separate tooling.
The job of a trouser hook at the waistband
A trouser hook is a low-profile fastening used to secure the upper edges of a waistband. It is common on tailored trousers and certain skirts, especially where the designer wants the front closure to look smooth without a prominent external button. A zipper may still open the fly below the hook. The two fastenings have separate jobs: one closes the fly, while the hook connects the overlapping waistband sections.
Comfort depends on the complete closure, not the hook alone. The receiving bar or eye must align with the hook when the waistband is worn at its intended size. If the overlap is too short, the wearer has to pull the waistband excessively to engage the hook. If the overlap is too long, the front edge may buckle or twist. Test alignment on the finished garment.
A hook, a receiving bar and attachment components
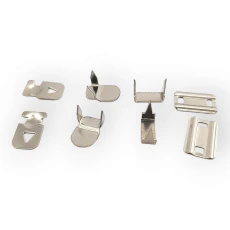
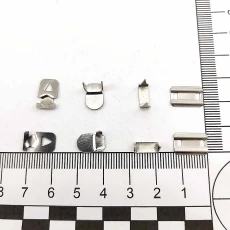
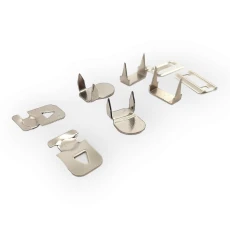
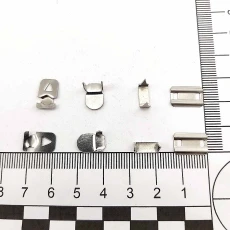
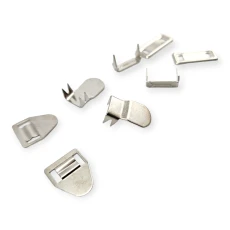
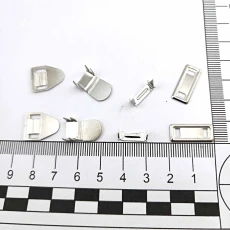
The phrase hook-and-bar describes an assembly: a shaped hook engages a compatible bar or receiving element. Different systems have different fixing parts, so a fastener sold as a four-part set should not be mistaken for a single hook. Press-on constructions may include attachment pieces placed on opposite sides of the fabric, while sew-on versions are designed for stitched attachment points. These constructions are not automatically interchangeable.
Before a repair, photograph or measure both the hook and its receiving part. A hook that looks similar in length may have a different opening or engaging angle. Matching the wrong hook to an existing bar can make the waistband difficult to close or allow movement in use. When making a new garment, selecting the complete compatible assembly simplifies component planning and avoids missing matching pieces.
Sew-on or no-sew/press-on closure?
A sew-on model is secured with suitable stitches through attachment areas intended for sewing. A press-on model is installed using corresponding fixing parts and the setting die designed for that system. No-sew in a product category means the metal is not attached through conventional sewing; it does not mean every model can be installed without equipment. Always identify how the actual fitting was constructed before choosing the installation process.
Press-on designs may be useful in repeat garment production, where appropriate dies and a compatible press can help apply the same construction consistently. Sew-on designs are relevant to certain repairs and garments assembled with stitching. Neither method is universally superior. The correct choice depends on the metal part, available sewing allowance, fabric structure and whether the fixing points can be reached without disturbing the garment lining.
Where a tailored waistband needs a hidden fastening
Flat-front trousers often benefit from an unobtrusive closing point near the upper end of a zipper. The hook should sit inside the waistband construction so its metal profile does not print through the fashion fabric. Its position must allow the fly extension and waistband lining to rest naturally. A small placement error can pull the top of the fly to one side, even when the zipper is perfectly sewn.
Garment patternmakers can mark the closed waistband first, then position the hook and receiving bar after accounting for the fabric overlap. Avoid measuring only from a cut pattern piece if the finished fold and interfacing change the usable area. During a fitting, check the waist in standing and seated positions. A comfortable, aligned hook should close without strain and should not produce an obvious ridge on the outside.
The stainless steel hook-set option
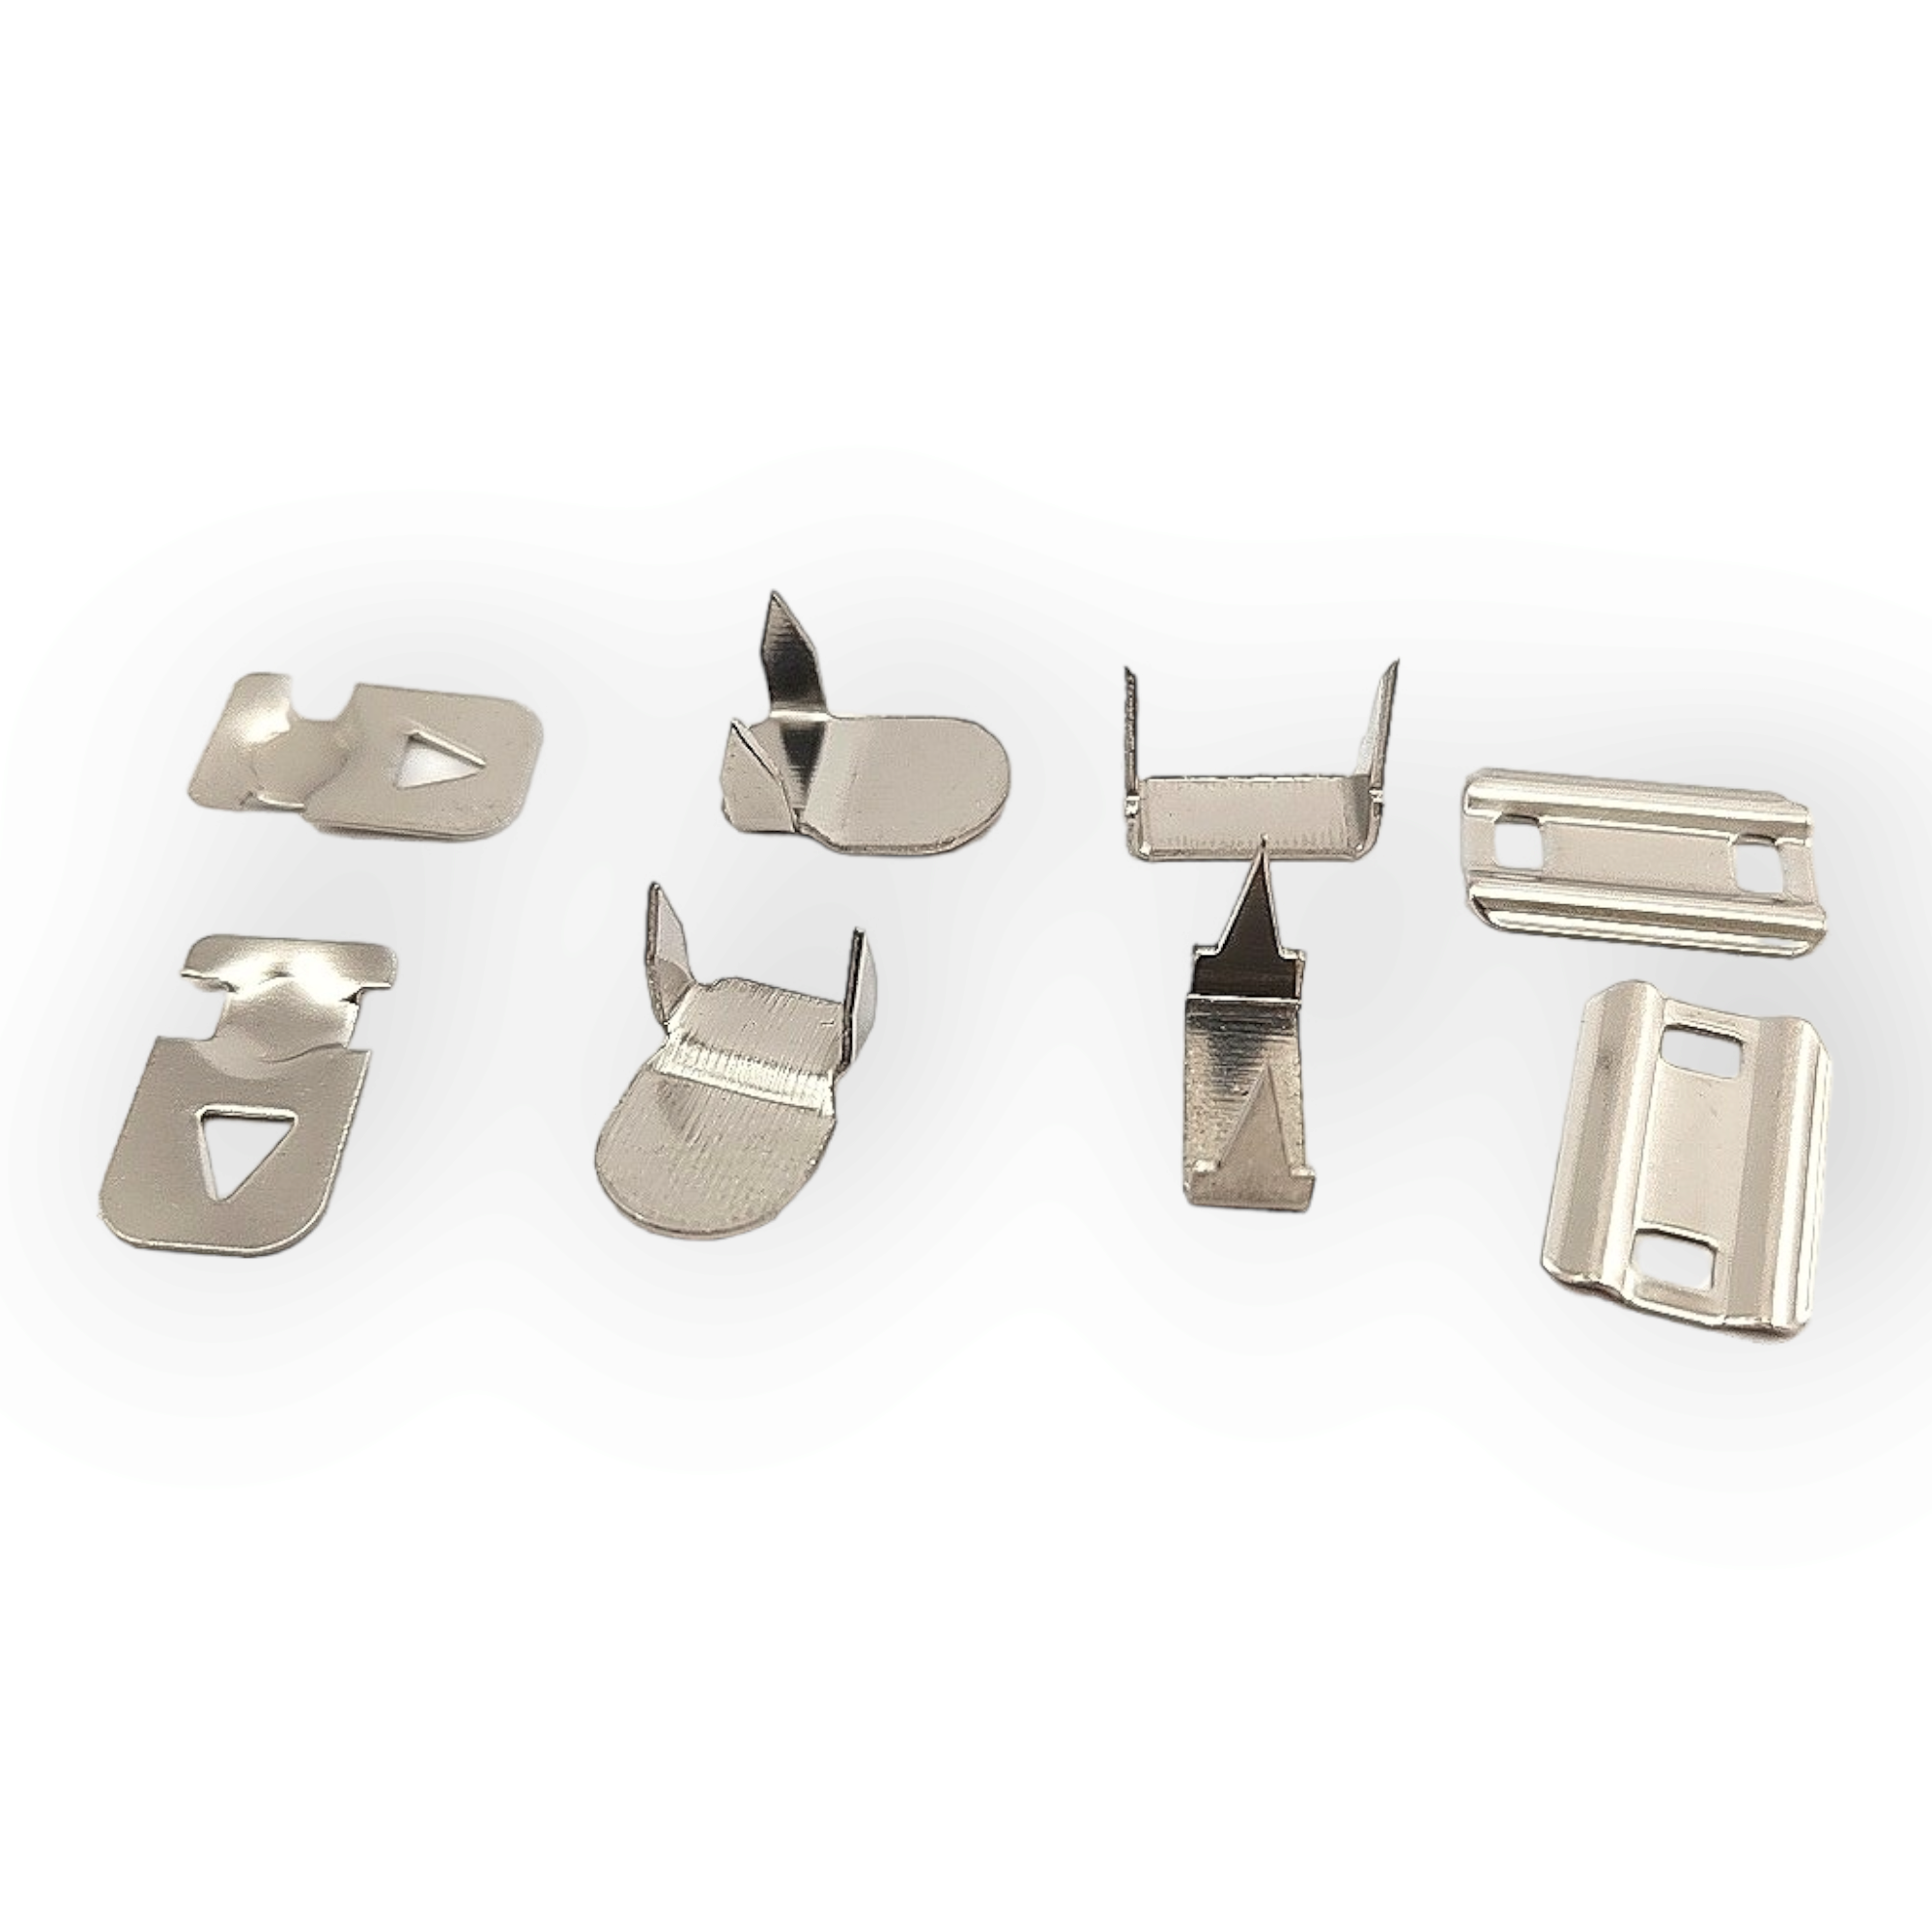
One of the physical examples in our catalog is the stainless steel trouser and skirt hook set. The product listing identifies it as a four-part set and provides available packing options. The stainless material is a relevant purchasing attribute, but it does not by itself guarantee a particular laundering result, finish compatibility or performance on all textiles. Check the actual assembly and available product options before ordering.
For someone replacing a worn fastening, the first question is whether this assembly can connect to the remaining bar on the garment. It may be preferable to replace a complete matched closure instead of leaving incompatible parts in service. For production sourcing, the sample should show whether the fastener lies flat over the intended waistband material and whether the fixing parts fit the actual textile thickness.
Brass sets and finish decisions
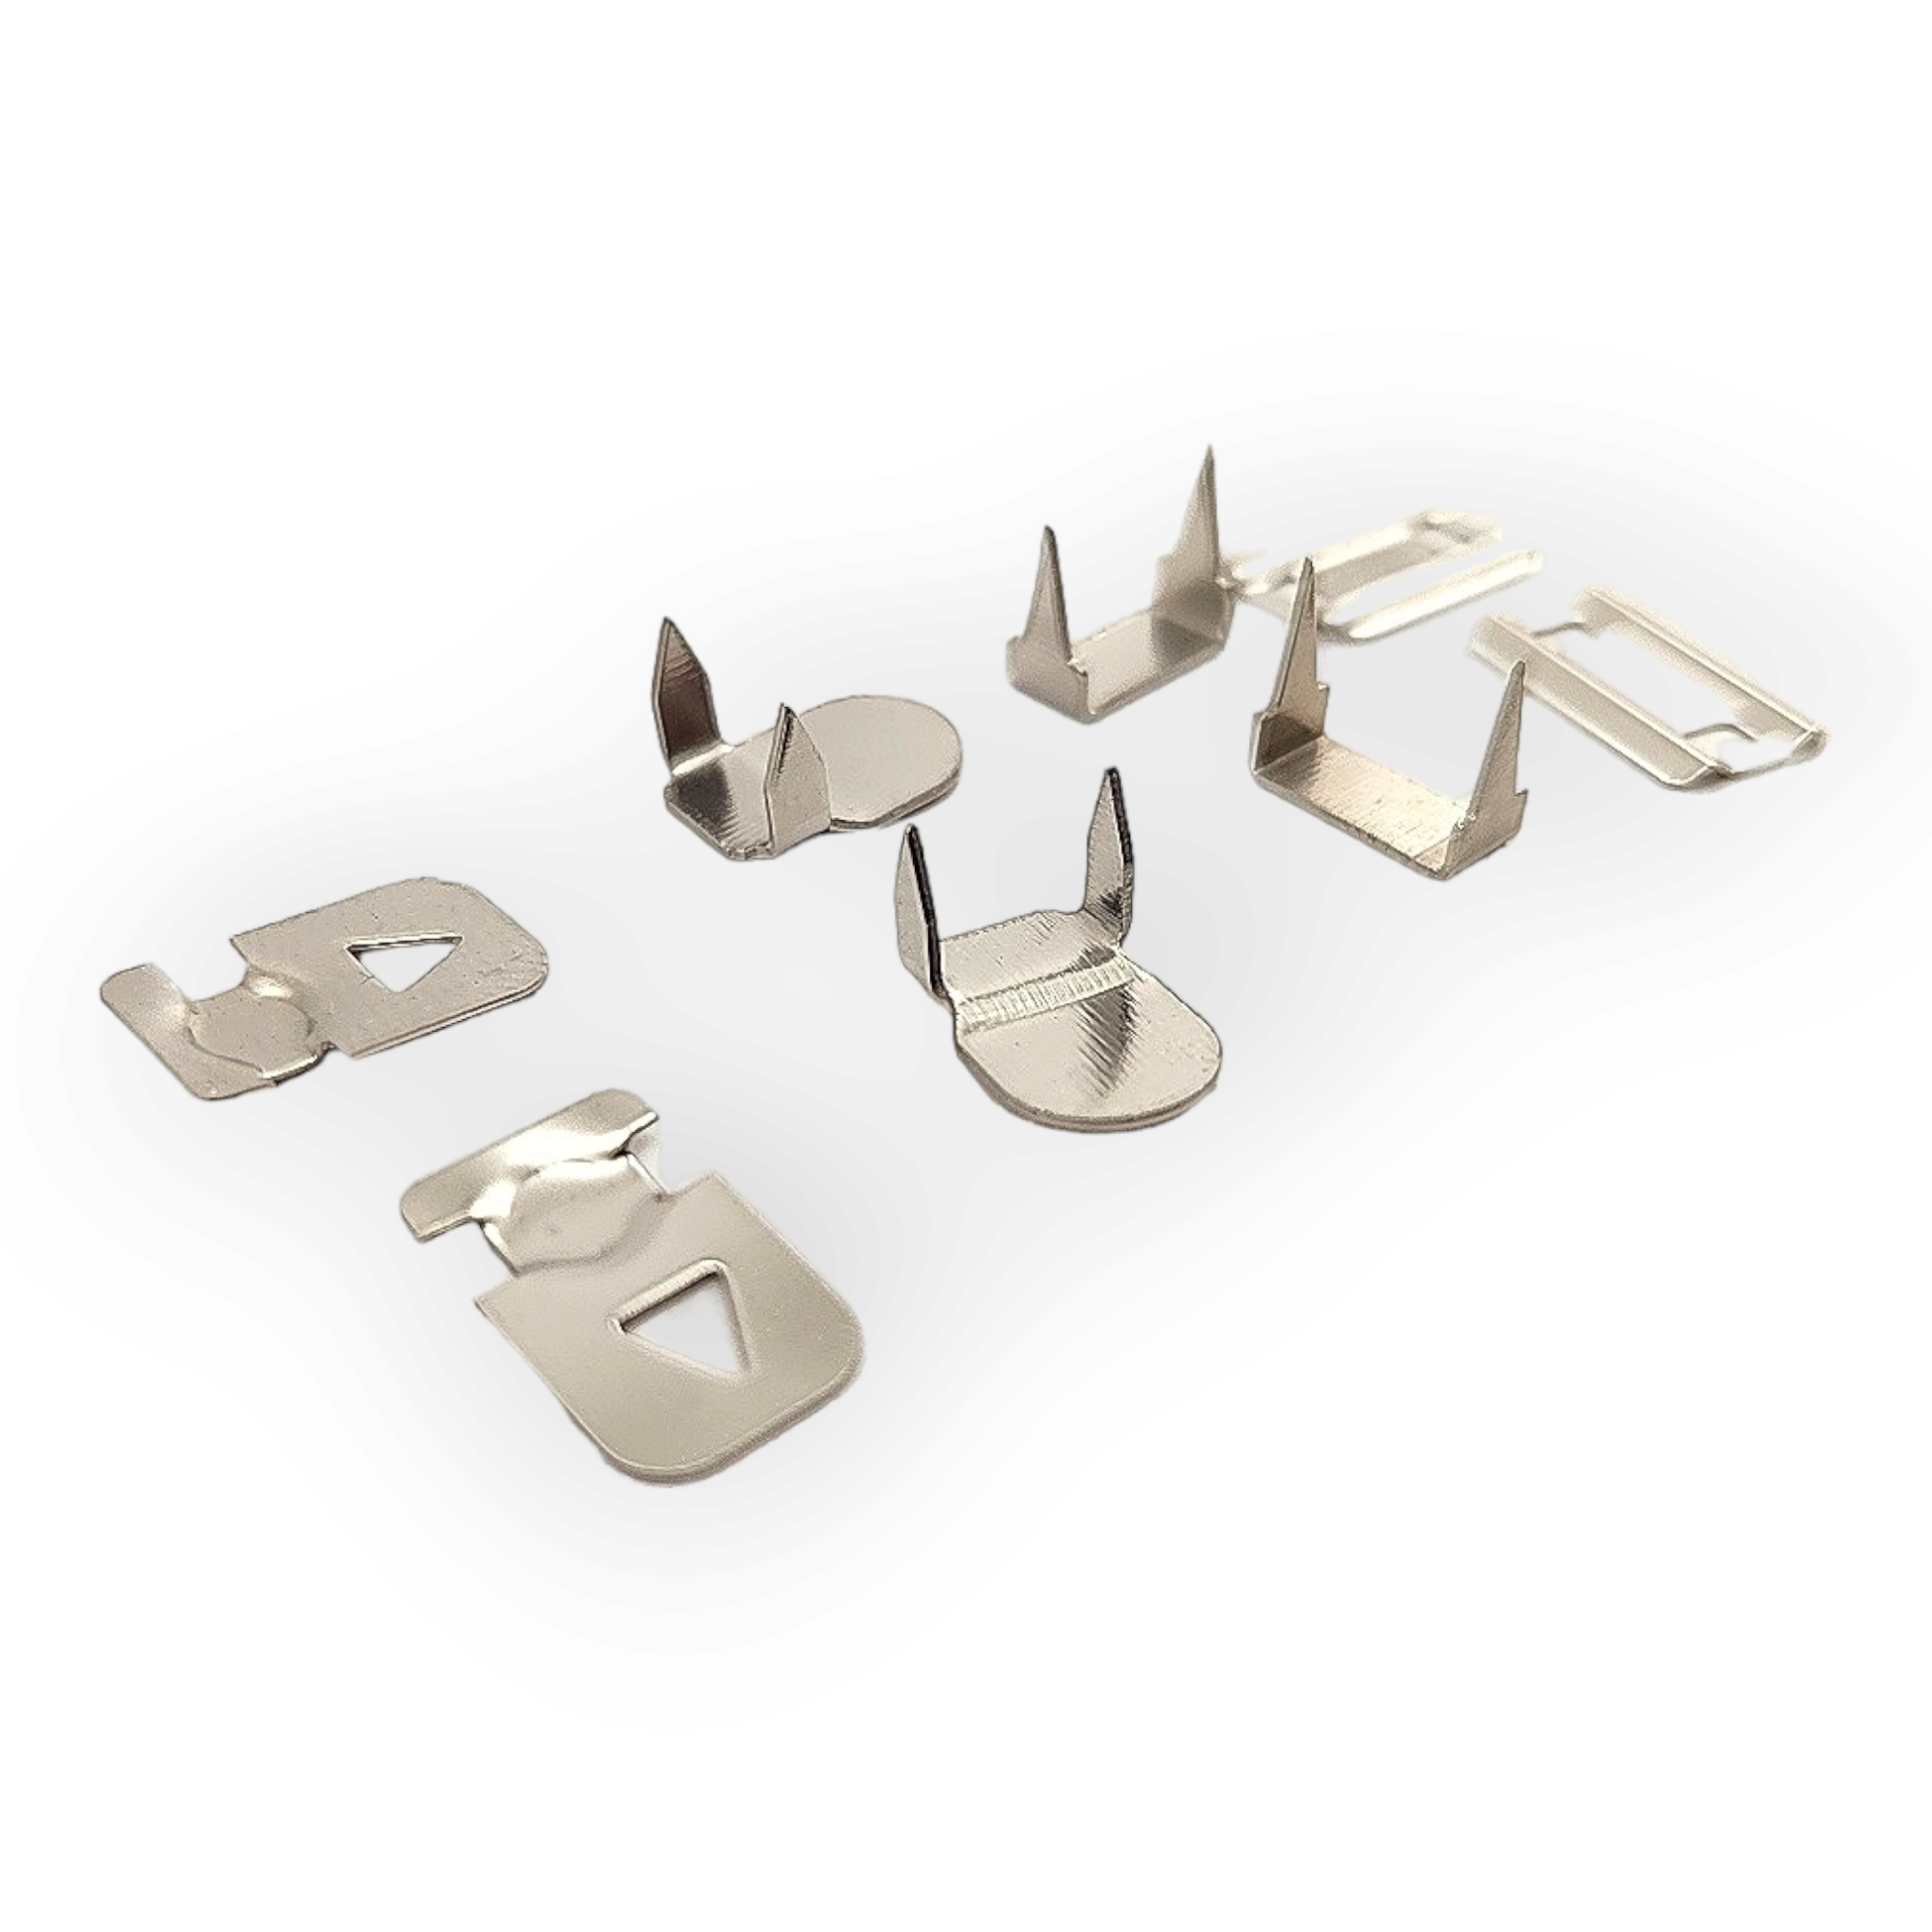
The brass trouser and skirt hook set is another catalog option for waistband closures. Brass is a material designation; it should not be treated as a promise that every plated finish performs identically. Visible tone, hook form and package quantity can influence the purchasing decision, but the mechanical fit between hook and receiver remains essential. A brass set should be assessed as its own model, not a color substitution for a stainless assembly.
If the hook is hidden beneath an extension tab, color may matter less than profile and ease of closing. Where a small section of metal can be seen, the selected surface finish should harmonize with the garment and remain consistent with approved samples. A workshop changing from one material family to another should repeat a sample fit check rather than relying on the old setting arrangement.
When to consider a large-size fastening
E-Düğme also lists a large-size brass hook-and-bar set. A larger design may be relevant to wider, reinforced waistband constructions, but a bigger frame is not automatically stronger or better suited to every garment. Its overall profile could be noticeable beneath lightweight fabric. A pattern with a narrow overlap may not have enough clear space for a larger bar and attachment assembly.
Compare the actual hook geometry and available placement area before choosing by the words large or small. Check the edge distance, overlap position and any interfacing that supports the component. On a lined skirt, the metal should not catch the lining when the wearer closes the waist. On a structured trouser, the hook should reach its counterpart without forcing the waistband into an unnatural curve.
Men's suit trousers and dress slacks
A suit trouser waistband can combine a fly zipper, inner extension, button and hook depending on the pattern. Adding a hook is not a substitute for understanding the existing closing order. In a single-pleat or flat-front design, the attachment position affects how the fly sits beneath a belt. On a lined waistband, the fastener must be placed where the metal does not rub directly against sensitive fabric or skin.
Repairing formal trousers requires particular care because opening the waistband may disturb existing stitching or lining. Identify the original construction before removing the damaged fastener. In new tailoring, a short physical trial should confirm that the hook closes naturally, the waistband stays level and there is no hard protrusion at the upper corner of the fly.
Skirt waistbands and side-zip designs
Hook-and-bar systems can also secure a skirt waistband above a back or side zipper. The same fastener may behave differently on a contoured skirt waistband because the fabric curves and stretches as the wearer moves. A narrow skirt facing may leave less room for the receiving bar than a conventional trouser waistband. The designer should account for seam allowances and reinforcement before fixing a position.
The goal is a tidy upper edge that does not flare open at the zipper. Place the hook and bar where the finished edges meet in their intended worn position. If the bar sits too far from the folded edge, the garment may look secure on a table but pull out of alignment on the body. Evaluate the closed skirt on a fitting sample before repeating the placement.
Choosing hardware for heavier fabric
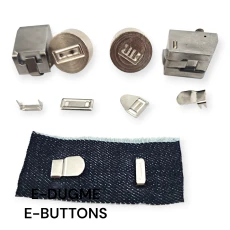
Jeans, workwear and heavier trousers can have bulky waist seams. The stack of cloth, interfacing and lining affects the way a press-on fixing element seats. A narrow attachment profile may not accommodate thicker folded material, while an oversized metal piece may change the look of a lightweight garment. Neither of these problems can be solved reliably by simply using more force at the press.
Check the actual fabric stack before ordering a die or setting the garment on a machine. If the assembly is sewn, assess thread placement and reinforced areas. If it is pressed, use an appropriate sample to check whether the metal parts seat without crushing or cutting the cloth. This prevents an attractive sample photograph from turning into an unsuitable production specification.
Measurements that actually determine fit
Product names may refer to different nominal dimensions. A fastener's overall length, hook opening, receiving-bar width and distance between fixing points are not interchangeable measurements. Document which measurement matters for the planned waistband. For international buyers, convert stated measurements accurately: 7 mm is approximately 0.28 in, 9 mm is 0.35 in, and 11 mm is 0.43 in. The values do not establish compatibility unless the same feature is being measured.
When replacing an unknown hook, compare the actual receiving geometry rather than assuming the nearest nominal size will engage. Inspect the closed assembly and the thickness of the folded fabric. A physical production sample usually reveals more than the outside dimensions alone. If working to a technical drawing, specify the mounting orientation and visible hardware profile in addition to the measured width.
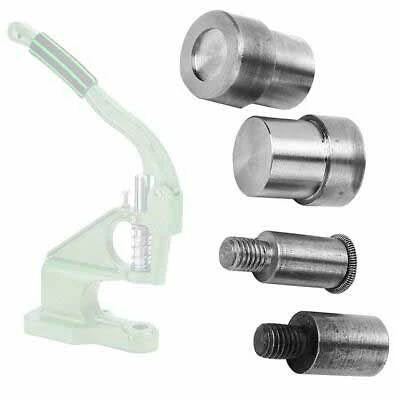
A010 setting die: what it is for
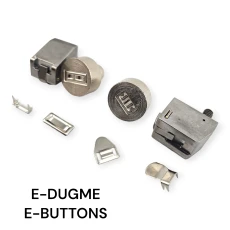
The A010 trouser and skirt hook setting die is sold as installation equipment for a dedicated hook system. The catalog identifies two top die parts and two bottom die parts. It is not itself a pack of garment hooks. When planning a press-on fastener operation, account separately for the hardware and the die set used to install it. This matters both for a small workshop buying its first system and for a factory stocking replacement tooling.
Do not assume the A010 name makes a die suitable for every trouser hook. Confirm the corresponding closure model and the press connection. An incorrect upper or lower die may deform the metal or leave the fixing parts incomplete. A test on the real garment fabric is more meaningful than a dry demonstration without the actual waistband stack.
A050 setting die and compatible production flow
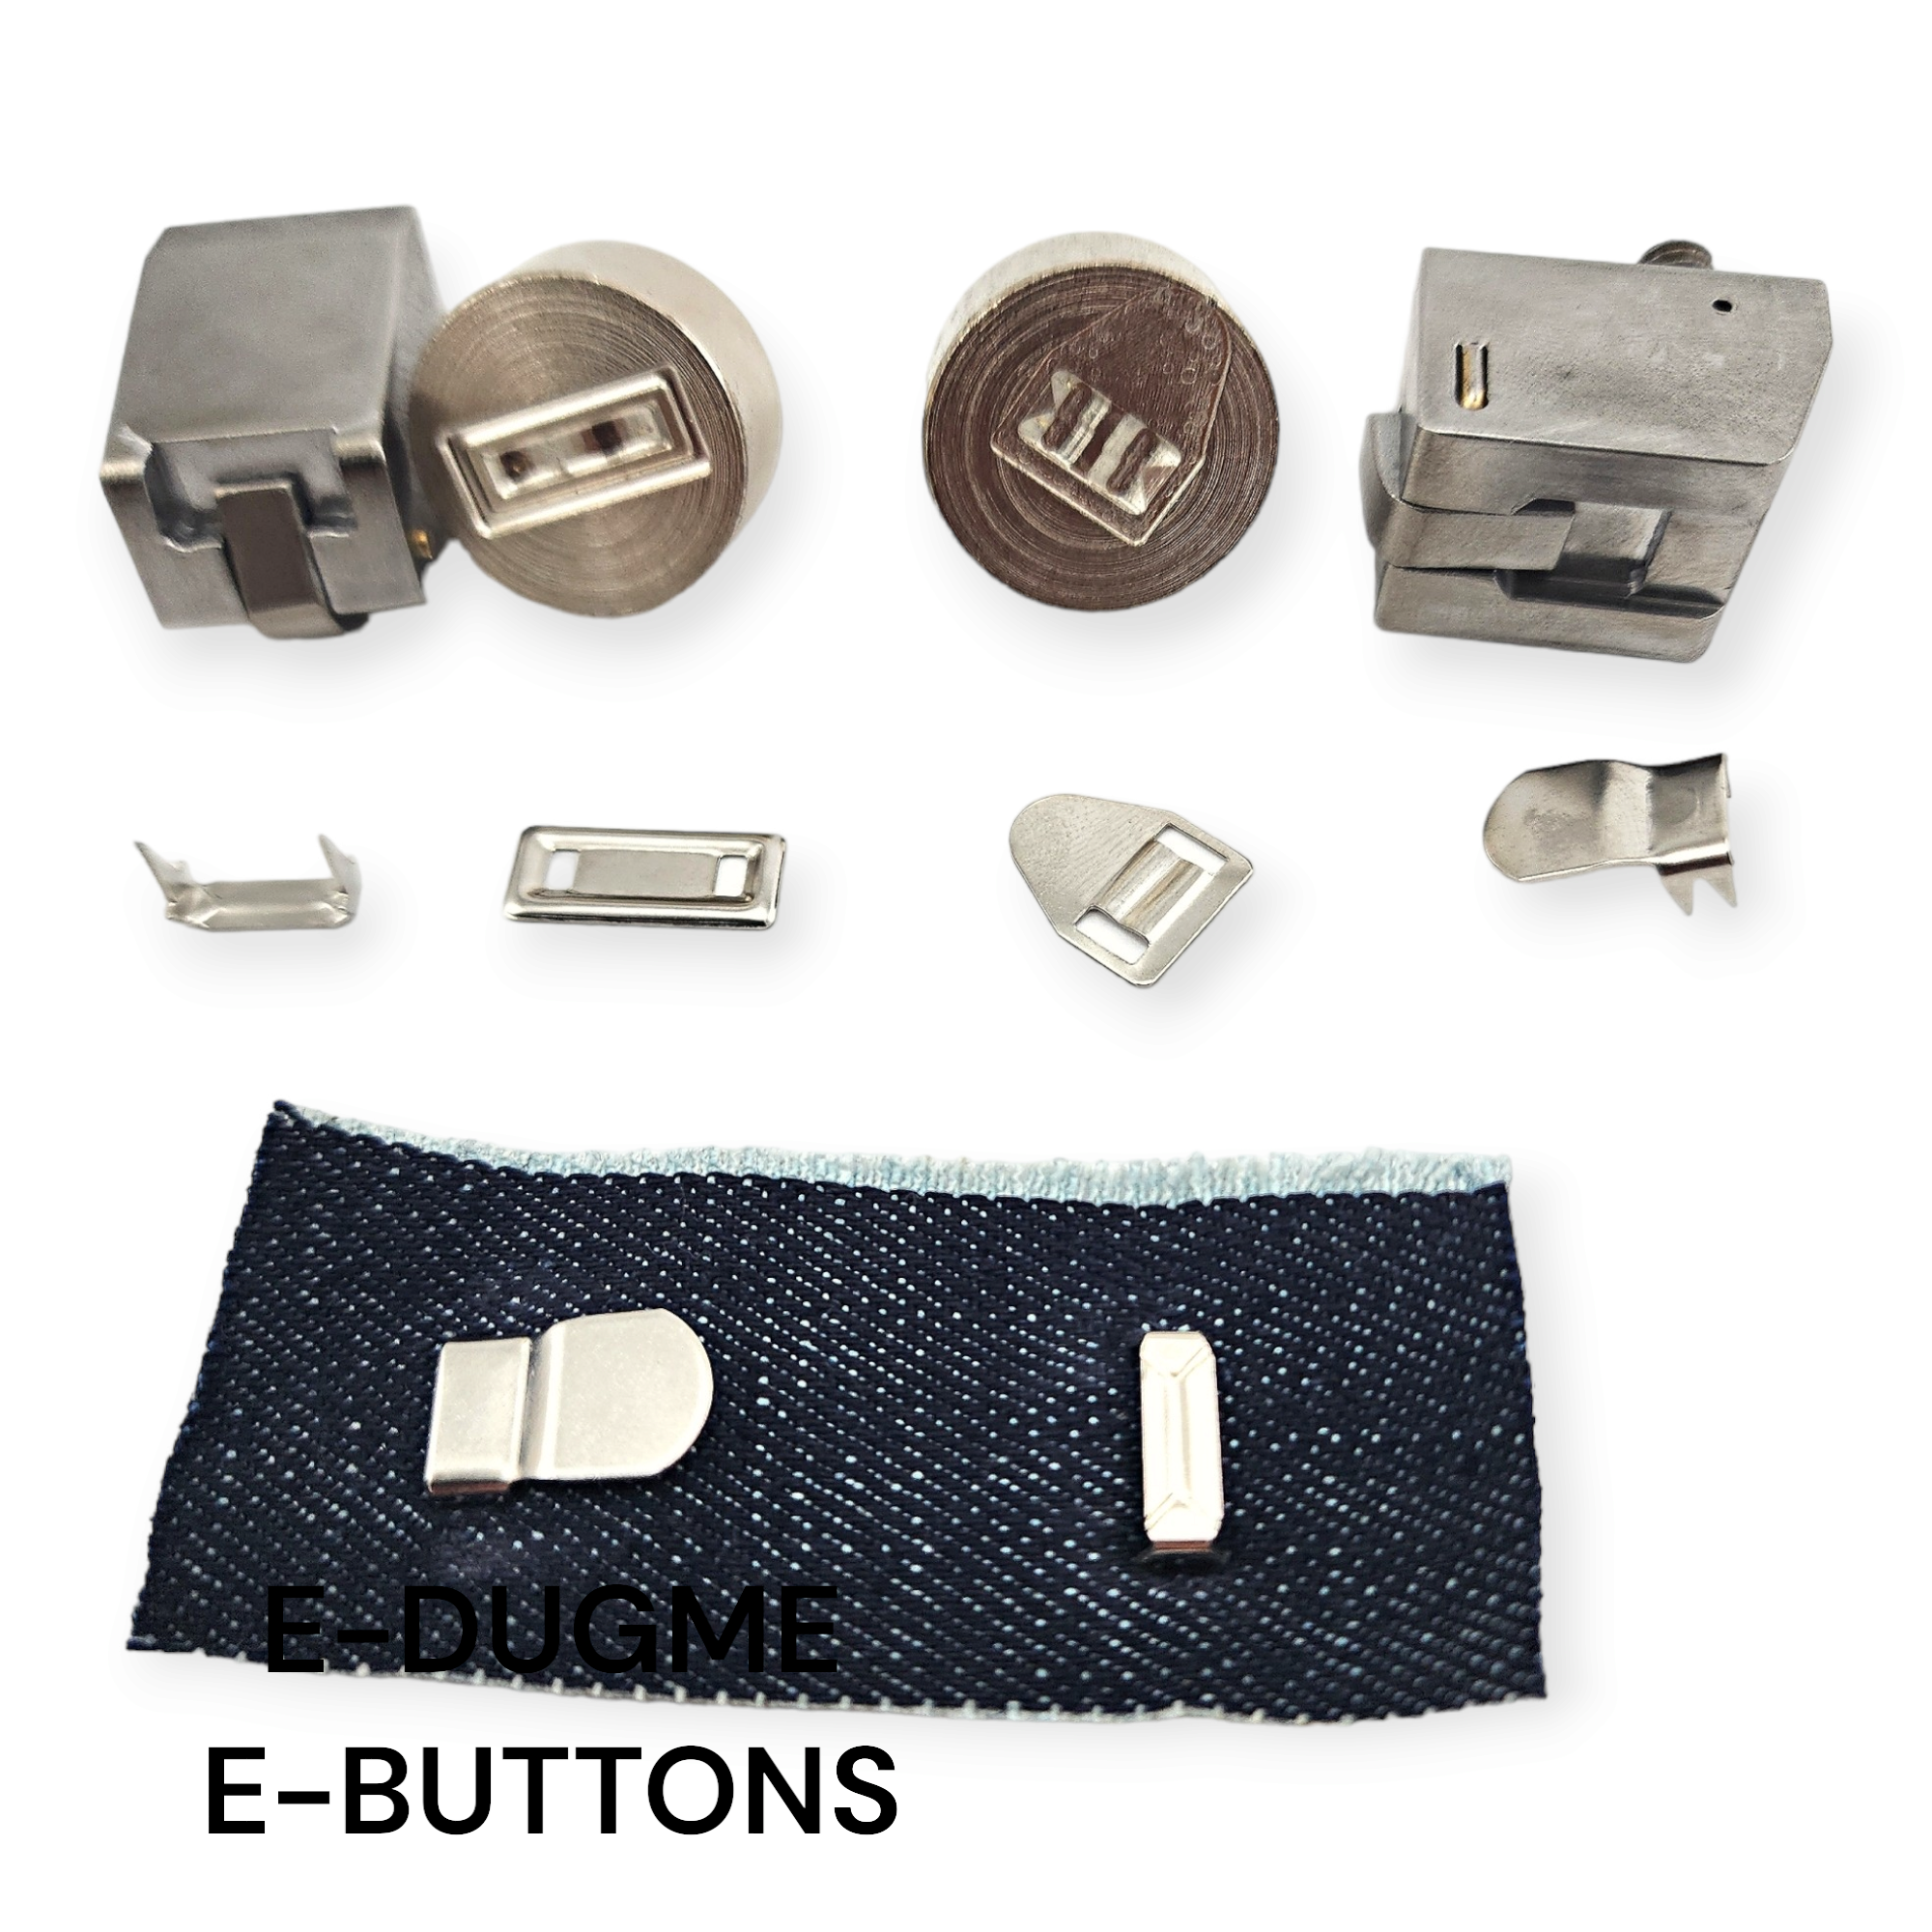
A separate tool family is the A050 trouser and skirt hook setting die. The listing describes it as a four-piece steel die set intended for its stated A050 application. Choose it because the selected hardware uses that system, not because its photographed shape looks similar to the A010 version. Tooling names are part of the manufacturing specification and should be included on a purchase order when repeat assembly matters.
To approve an A050 installation, inspect the fastener and receiver after setting. The upper edges should remain aligned, and the metal should not leave unintended sharp projections. If the component comes loose, check matching parts, placement and die alignment before increasing press force. Keeping approved hardware and die identifiers together reduces the chance of a later operator selecting the wrong assembly.
Explore the dedicated mounting tools category
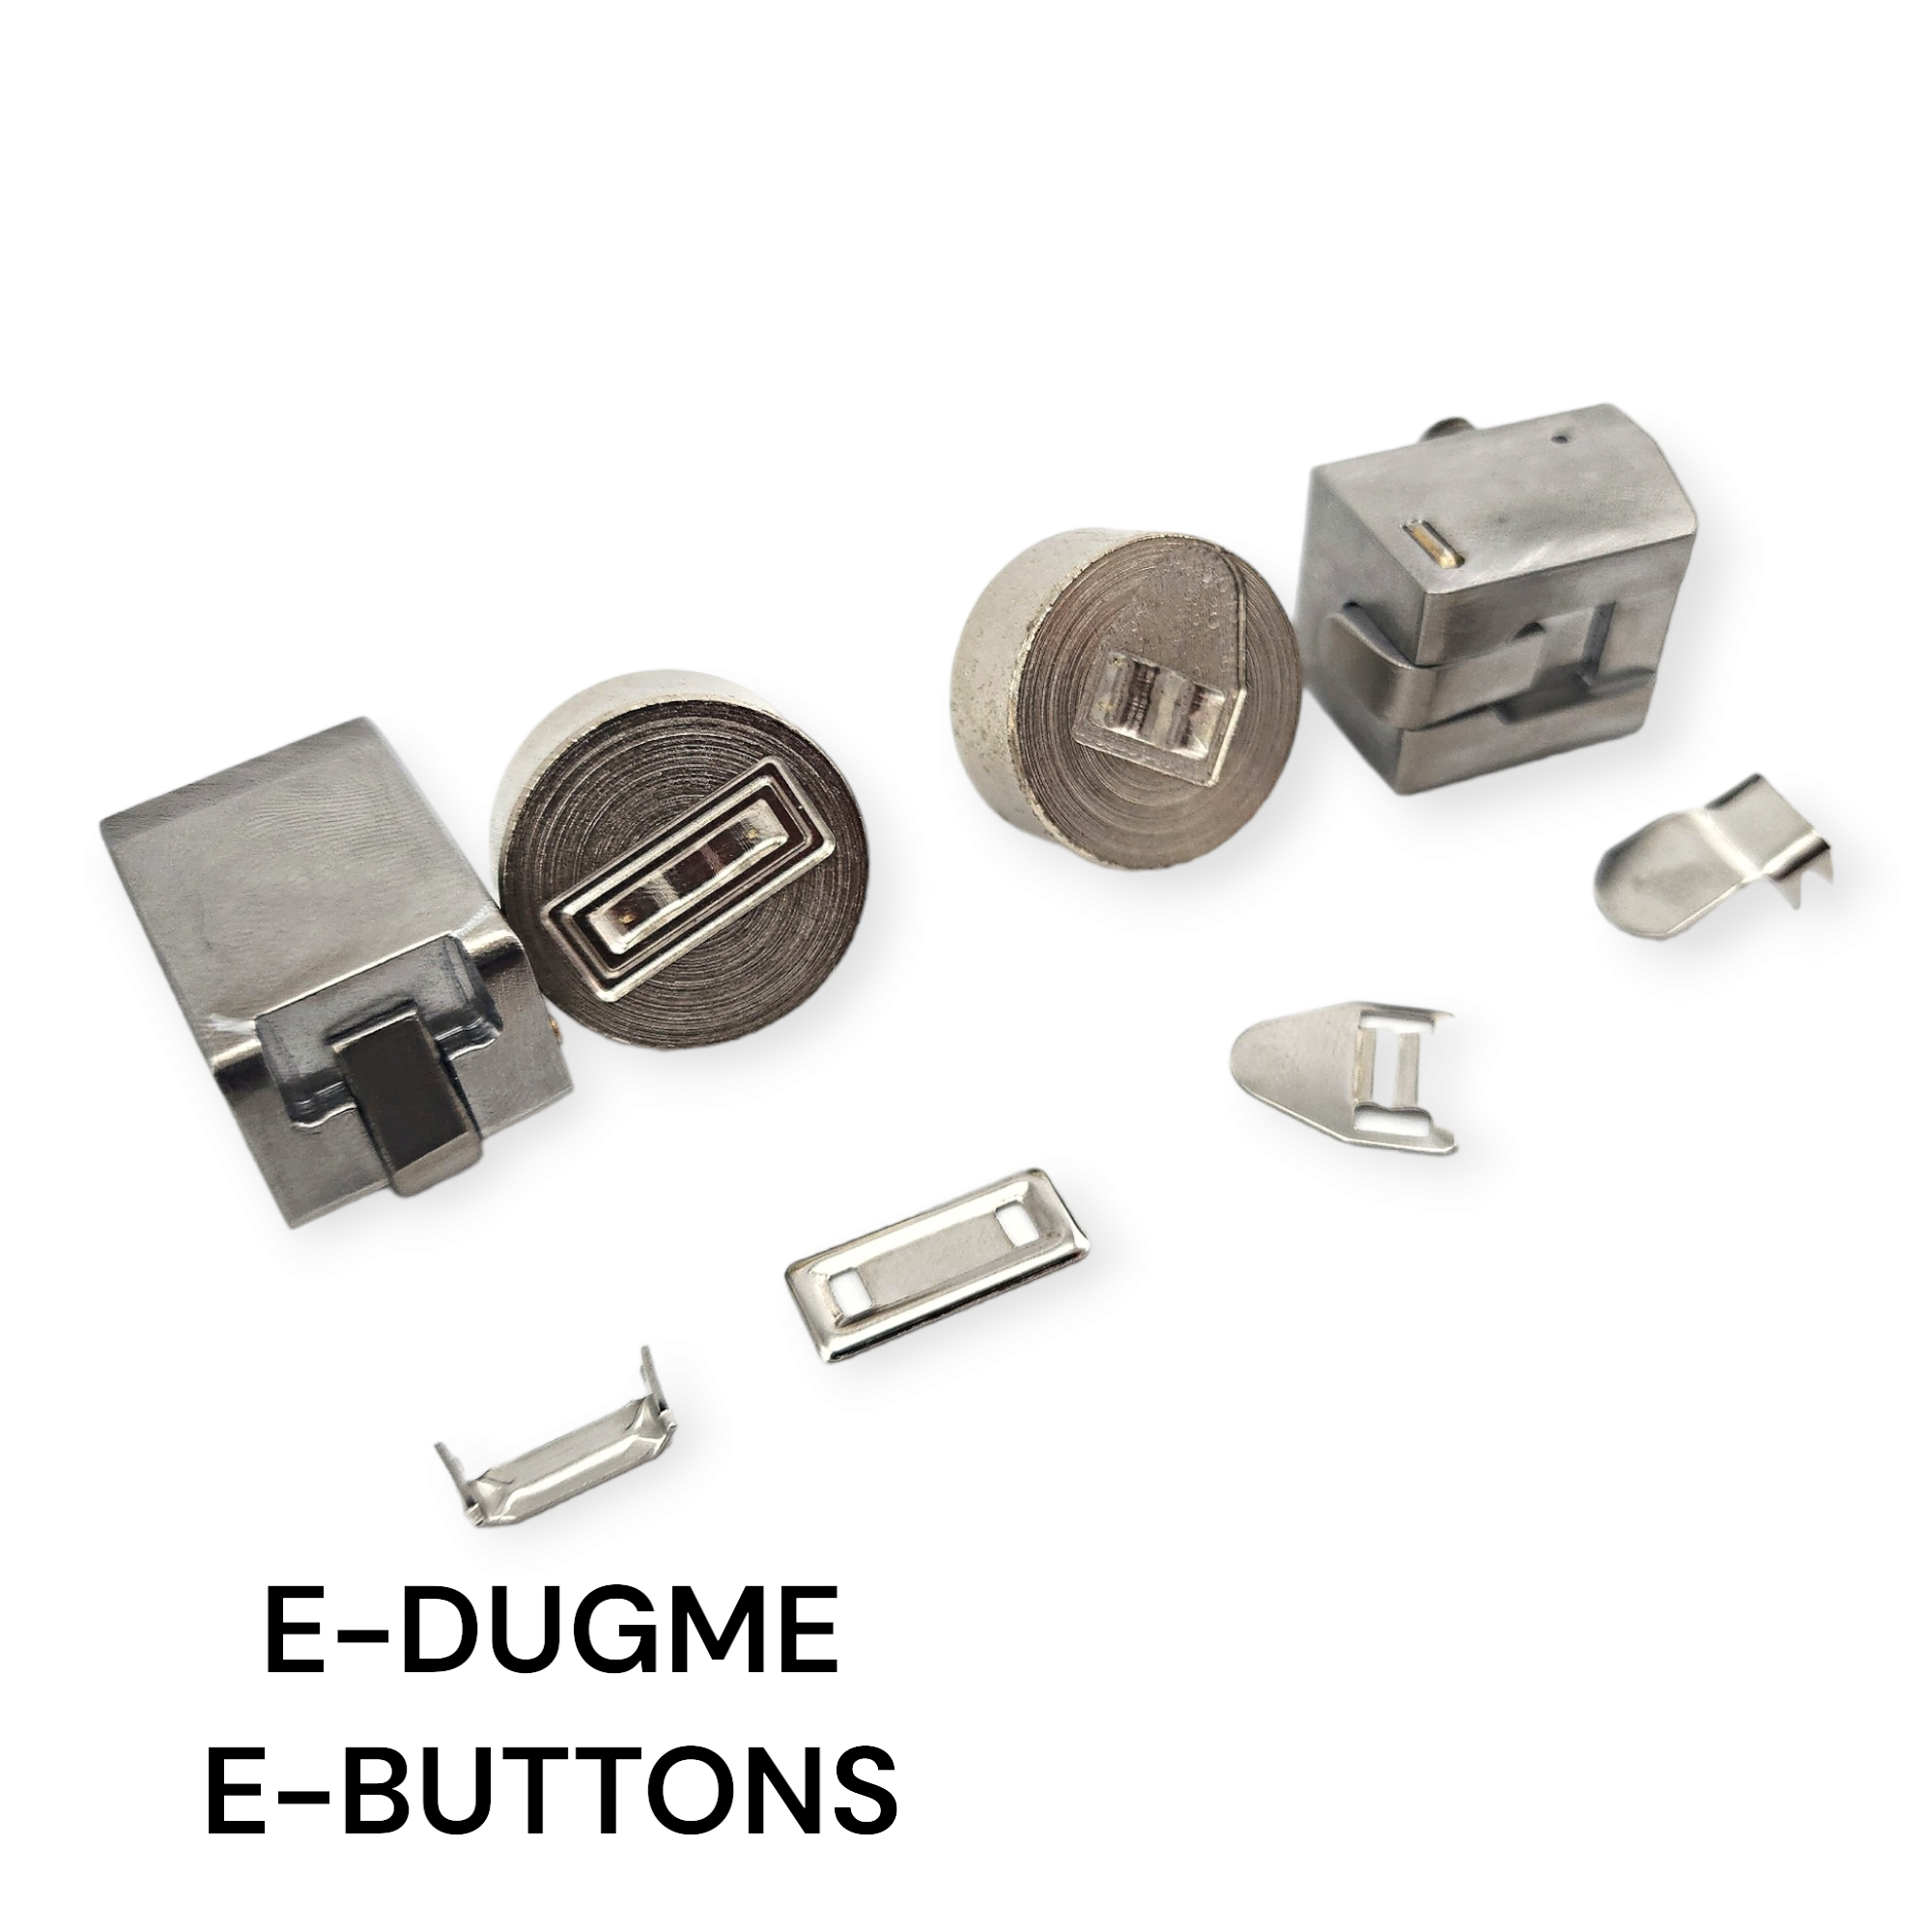
E-Düğme also supplies the tooling required for eligible hook-and-bar installations. Our trouser and skirt hook setting dies category lists dedicated solutions including A010 and A050. This is a separate product family from the hook-and-bar closures themselves. If your chosen fastening is a press-on design, selecting its matching die is part of completing the production setup. If your design uses sewn fittings, that purchasing requirement may be different.
The equipment page provides a convenient way to compare die options after choosing a hook model. It also helps a workshop check whether its current press can accept the required fitting. Before ordering a die for an existing machine, confirm the connection, the intended closure parts and the material being processed. Buying the hook and its setting tooling as a planned pair saves troubleshooting later.
How a press-on waistband hook is installed
Start with an approved hook-and-bar set and the setting die intended for that system. Mark the two fixing positions on the finished or representative waistband construction, taking the overlap and zipper into account. Set up the corresponding upper and lower die parts according to the manufacturer’s instructions. Position the metal component in the tool in its intended orientation, then apply it to the prepared fabric using the appropriate machine procedure.
Evaluate the first result before repeating the operation. The metal components should seat fully without excessive crushing of fabric. The hook must meet the bar without needing to stretch the waistband. If the alignment is wrong, stop and revisit the attachment positions, not just the press pressure. The precise pressure and die installation sequence depend on the actual tooling and press and should not be guessed from a generic article.
How sew-on hardware is fitted
With a sew-on hook, the attachment areas receive stitches rather than press-on fixing components. Place the hook and receiver on the folded waistband at the finished closing position. Check the hook direction and the distance from the edge. Reinforce the attachment region as required by the cloth and garment construction. The stitching should hold the metal firmly without pulling the outside fabric into puckers.
After fitting, engage and disengage the hook several times. A sewn connection should not rotate excessively, and the thread should not interfere with the receiving opening. Keep the stitches away from the moving contact area. This fitting method is not interchangeable with A010 or A050 press tooling. If the existing garment was manufactured with press-on parts, changing it to sewing requires a separate construction decision.
Packaging, kits and repeat orders
A listing that says four-piece set and 250 pieces contains two different pieces of information: the assembly format and a quantity designation. Do not multiply or divide those labels without checking the live selling unit. A factory should calculate how many completed waistband closures it needs, then translate that into the specified package configuration. Replacement hardware and production assembly kits may be supplied differently.
Keep a short approved sample record with the actual hook model, receiving part, finish and installation method. This prevents a later order for generic 'metal trouser hooks' from arriving in a different profile. Tooling should have its own recorded code, especially if a workshop uses more than one hook family. An agreed sample is particularly valuable when production continues across garment seasons or suppliers.
Complete your choice with matching products
Start with the E-Düğme trouser and skirt hook collection to compare hook assemblies by type, material and size. A stainless four-piece fastener or brass alternative may meet different material preferences, but the fit must be checked on your waistband. If the assembly requires pressed installation, continue to the dedicated setting dies category and review the relevant A010 or A050 equipment.
Buying the mounting tool at the same time as the approved metal components avoids a common production delay: fittings arrive, but there is no suitable tooling to secure them. For repairs, first identify whether the original fastener is sewn or pressed and whether the receiving part can be reused. A well-matched hook and bar helps keep the top of the waistband neat without changing the overall garment design.
Hardware and setting-die comparison
| Product type | Intended role | Check before ordering |
|---|---|---|
| Stainless hook set | Waistband fastening | Matched hook and receiving bar |
| Brass hook set | Alternative metal assembly | Geometry, finish and package unit |
| Large brass set | Larger waistband hardware | Available room and cloth thickness |
| A010 setting die | A010 installation system | Matching fastener and press |
| A050 setting die | A050 installation system | Dedicated components and tooling |
Frequently asked questions
What does a trouser hook do?
It connects the overlapping upper waistband edges, commonly above a zipper, while keeping the fastening relatively discreet.
Does a trouser hook replace the zipper?
Usually not. The zipper and waistband hook perform different functions and can be used together.
Can any hook be fitted with an A010 or A050 die?
No. These are different setting-die systems. Confirm the exact matching hardware and press connection before purchase.
Are brass and stainless sets interchangeable?
Do not assume so. Hook geometry, receiving parts, attachment method and finish should be checked on the garment sample.
How do I install a press-on trouser hook?
Identify the correct hardware and die, prepare the waistband overlap, use the tool according to its instructions and inspect a finished sample before repeat production.
When is a sew-on trouser hook appropriate?
Where the garment and chosen hook are designed for stitched attachment. The stitching location and fabric reinforcement must be suitable.
How many closures are in a 250-piece pack?
The package quantity and four-piece construction must be interpreted using the product's current selling-unit information; do not assume a number of complete closures.
Do you sell setting dies for trouser and skirt hooks?
Yes. E-Düğme offers dedicated setting dies in its trouser and skirt hook tooling category, including A010 and A050 products.
.jpg-230x230.webp "1 cm - 0,39")
.jpg-230x230.webp "1 cm - 0,39")
.jpeg-230x230.webp "10 mm / 0.39 in Gold Zamak Bra Strap Slider and Ring Set, 500 Pairs PBT0006PROMO")
.jpg-230x230.webp "10 mm / 0.39 in Gold Zamak Bra Strap Slider and Ring Set, 500 Pairs PBT0006PROMO")
_7_11zon.jpg-230x230.webp "10 mm / 0.394 in Ball-Tip Sew-On Hook Fastener, 50 Pieces E 1879 PROMO")
_10_11zon.jpg-230x230.webp "10 mm / 0.394 in Ball-Tip Sew-On Hook Fastener, 50 Pieces E 1879 PROMO")
-s1351%20(1%20(6).jpeg-230x230.webp "10 mm 0,39")
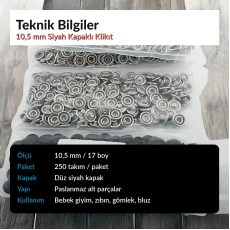
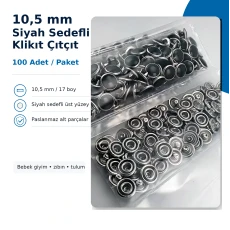
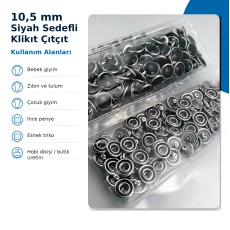
.png-230x230.webp "10.5 mm / 0.41 in Frosted Pearl Stainless Prong Snap Fasteners, 100 Sets/Pack ERBCLK0008BBSD")
.png-230x230.webp "10.5 mm / 0.41 in Frosted Pearl Stainless Prong Snap Fasteners, 100 Sets/Pack ERBCLK0008BBSD")
.png-230x230.webp "10.5 mm / 0.41 in White Pearl Stainless Prong Snap Fasteners, 100 Sets/Pack ERBCLK0008BSD")
.png-230x230.webp "10.5 mm / 0.41 in White Pearl Stainless Prong Snap Fasteners, 100 Sets/Pack ERBCLK0008BSD")
.jpeg-230x230.webp "10.5 mm Stainless Steel Nickel-Plated Perforated Snap Fastener, 250 Pieces/Pack C0011DPK")
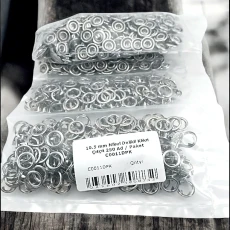
.png-230x230.webp "10.5 mm Stainless Steel Nickel-Plated Snap Fasteners, 250 Pieces/Pack C0011KP")
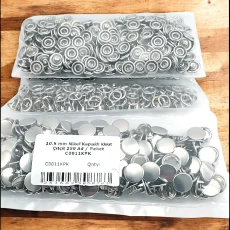
.png-230x230.webp "100 m / 328.08 ft N5 / #5 Nylon Coil Zipper Chain Set with 50 Single-Pull Sliders for Workshops SET-T10T-NAYLON-100M50C")
.png-230x230.webp "100 m / 328.08 ft N5 / #5 Nylon Coil Zipper Chain Set with 50 Single-Pull Sliders for Workshops SET-T10T-NAYLON-100M50C")
.webp-230x230.webp "12 mm / 0.47 in Silver (Nickel) Stainless Domed Eyelet – 100-Piece Pack ER0026P100")
.webp-230x230.webp "12 mm / 0.47 in Silver (Nickel) Stainless Domed Eyelet – 100-Piece Pack ER0026P100")
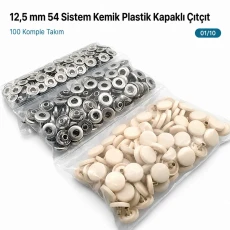
_7.jpg-230x230.webp "12.5 mm / 0.49 in 54 System Light Bone Plastic Capped Snap Fastener 100 Sets ERC00125PLKemik")
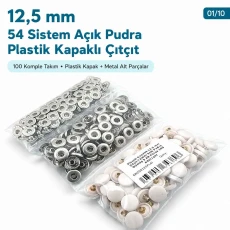
_4.jpg-230x230.webp "12.5 mm / 0.49 in 54 System Light Powder Plastic Capped Snap Fastener 100 Sets ERC00125PLAPudra")
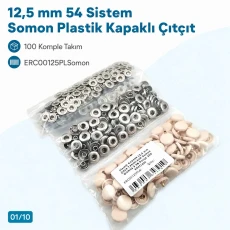
_10.jpg-230x230.webp "12.5 mm / 0.49 in 54 System Light Salmon Plastic Capped Snap Fastener 100 Sets ERC00125PLSomon")
Leave a Comment