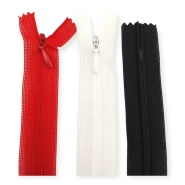
Zippers
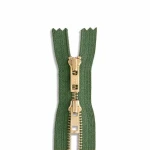
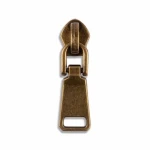
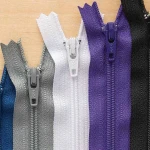
We produce zipper accessories custom to your brand, with logo pulls, custom shapes and a range of plating options.
4 mm / 0.16 in Nickel (Silver) acrylic rivet pearl. Supplied as 1250 sets per pack with matching stainless mounting nails. Designed for mechanical setting with a compatible die and press/hand setter. Model: INC0004SLN.
4 mm / 0.16 in Nickel (Silver) Acrylic Rivet Pearl 1250 pcs/Pack INC0004SLN is an acrylic decorative rivet pearl designed for mechanical setting on textile and accessory surfaces instead of hand sewing each pearl individually. The visible pearl body is acrylic, while the matching mounting nail is stainless, and the two parts are supplied as sets. The 4 mm / 0.16 in diameter creates a small and controlled pearl effect. The Nickel (Silver) finish gives the design a bright, clean, modern and cool metallic character. Each pack contains 1250 sets. This guide goes beyond a short specification list and explains size and color selection, die and press compatibility, fabric testing, production planning, quality control, care validation, stock management and practical workshop use so that the product can be evaluated before bulk production.
INC0004SLN is a two-part decorative setting system consisting of an acrylic pearl body and a stainless mounting nail. It is not a natural pearl. It is a shaped decorative component intended for garment and accessory production. During installation, the visible pearl and the nail are aligned from opposite sides of the material and compressed with a physically compatible die. This method offers an alternative to hand-sewing individual pearls, but final quality depends on more than the component itself. Die geometry, press alignment, fabric thickness, layer count and operator technique all influence the result. The Nickel (Silver) finish creates a bright, clean, modern and cool metallic visual language, while the 4 mm size is especially useful for fine borders, small motifs, lettering and logo contours, dense dotted patterns and delicate surface embellishment.
Diameter affects surface coverage, the number of points that fit inside a motif, visual density and the way the embellished area moves. At 4 mm, this model produces a small and controlled effect. It can be used as an isolated accent or repeated to build borders, shapes and larger decorative fields. Typical areas include fine borders, small motifs, lettering and logo contours, dense dotted patterns and delicate surface embellishment. Do not judge scale only from an enlarged product photograph. Review the real diameter against the actual pattern. Very dense placement can reduce the natural flexibility or drape of the textile, while spacing that is too wide may weaken the intended pearl effect. Center-to-center distance should therefore be established on a physical sample using the real fabric and the intended pattern.
The Nickel (Silver) finish is part of the design specification, not merely a catalog label. It creates a bright, clean, modern and cool metallic appearance and can behave very differently over white, black, grey, blue, navy, fuchsia and cool pastels and other grounds. On one textile it may look subtle and tonal; on another it may create a strong contrast. Matte, satin, coated and textured fabrics also change how surface reflection is perceived. Screen calibration, photography, white balance and viewing angle can cause the online image to differ slightly from the physical part. For critical color matching, compare a real sample on the actual fabric. When the collection also uses zipper parts, snaps, eyelets, buckles, chains or logos, do not assume that identical color names guarantee an exact finish match across different suppliers or production lots.
The visible pearl body is acrylic. Acrylic helps keep the individual decorative component relatively lightweight compared with heavier glass-like alternatives, although the total load on the textile still depends on the number of pearls used. The mounting nail is stainless and is supplied as the matching rear component. “Stainless” describes the nail, not the entire product. During setting, excessive force can mark, compress or crack the acrylic body. Insufficient force can leave the assembly loose. Press force therefore needs to be established through controlled samples using the actual die, textile and layer structure. Once an approved setup has been found, recording the machine setting and construction details improves repeatability across operators and production shifts.
INC0004SLN is supplied in packs of 1250 sets. Pearl bodies and matching stainless nails should be treated as paired production components. Material planning should include more than the theoretical number used on finished goods. Allow for samples, machine setup, operator trials, occasional rejected settings, dropped small parts and service spares. If one finished item uses 10 pearls, the theoretical pack capacity is about 125 items; at 20 pearls per item it is about 62 items, before waste. Where shade continuity matters, purchasing enough quantity from one production lot can reduce the risk of visible variation. Once a pack is opened, keep the model, diameter and finish clearly labelled and avoid mixing 4, 6 and 8 mm components in the same container.
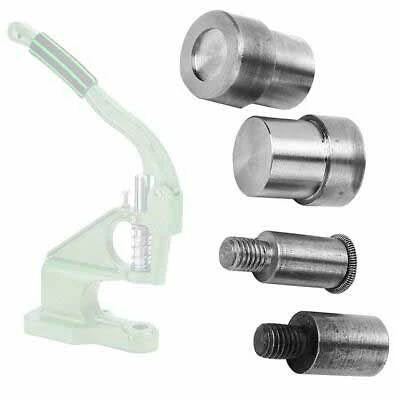
Nominal diameter alone does not guarantee die compatibility. The die should support the acrylic pearl body in the correct area, guide the stainless nail on the center line and fit the press or hand-setting tool mechanically. For this 4 mm component, use a die that is physically compatible with the 4 mm pearl and its nail geometry. An incorrect cavity can scratch the surface, hold the pearl at an angle or create cracking under pressure. Before bulk production, make several test settings on the actual textile. Inspect the front, reverse, attachment firmness and fabric distortion together. Keep die faces clean because trapped fibers or hard debris can mark many consecutive components during a production run.
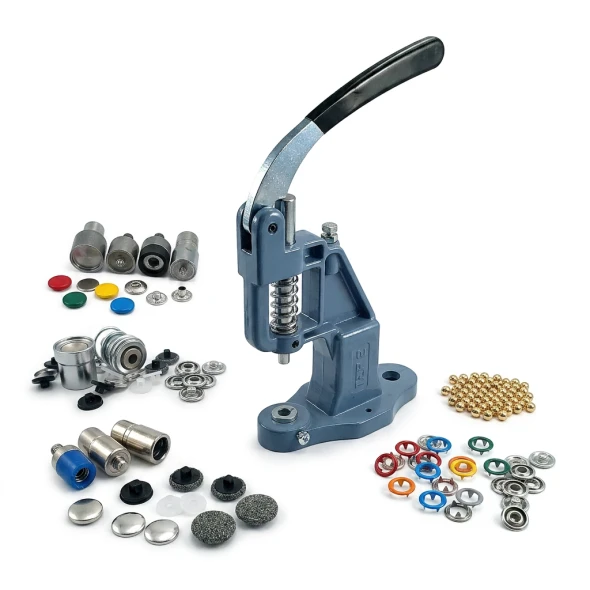
The product can be installed with a suitable press system or hand setter when the correct die can be mounted. A manual bench press can be practical for samples, repairs and small-to-medium production. Higher-volume mechanical or pneumatic systems can help reduce variation in operator force. The important factor is not the machine name but centered tooling and controlled pressure. The work surface should be stable, and the upper and lower die components should meet on the same axis. Do not begin setup at maximum force. Start conservatively and increase pressure only as required by the sample. Recheck the setup whenever fabric type, layer count or construction changes. A pocket seam or folded edge can require a different setting condition from a single-layer body panel.
Mark the pearl centers at true scale before production. Place the textile flat and without unintended tension. Position the visible pearl on the face side and the stainless nail on the reverse so both parts share the same center line. Confirm that the die supports both components before applying controlled pressure. Inspect the first sample for surface marks, cracks, tilt, reverse-side closure and sharp projections. A correctly set pearl should not show unnecessary movement when checked gently. In patterns containing many points, set main references such as centers, corners or guide points first and fill the intermediate positions afterward. This can reduce cumulative alignment drift. Use production-appropriate temporary marking methods rather than permanent pens that may remain visible on the finished item.
A rivet pearl should not be assumed to behave identically on every textile. Denim, gabardine, felt and stable woven fabrics often provide predictable support, while chiffon, tulle, loose knits and highly elastic fabrics can react differently around the nail opening. Thin textiles may pull or distort; very thick multilayer constructions may prevent the nail from reaching or closing correctly. The visual proportion of a 4 mm pearl also changes with textile scale and texture. Always prepare samples from the actual production fabric. Evaluate not only the appearance immediately after setting but also flexing, stretch and, where relevant, the intended care process. Keeping an approved sample as a production reference is especially useful for repeat or customer-approved work.
Chiffon, tulle, fine satin, organza and similarly delicate materials need careful evaluation because the textile structure around the setting point can be sensitive to pressure and perforation. The lightweight acrylic body can be helpful, but a dense field of pearls can still increase local stiffness and total load. Begin with a low-density sample and inspect for pulled yarns, puckering, waviness or uncomfortable reverse-side structure. A suitable support layer may sometimes be considered, but adding support changes total thickness and therefore requires a new nail-reach and press-setting test. Construction sequence also matters. On lined garments, access to the reverse of the setting area may be needed before the lining or second layer is permanently closed.
With denim, heavy woven fabrics, quilted panels, synthetic-leather-backed surfaces or multiple layers, total thickness is often the main issue. The stainless nail must still reach the acrylic body and close securely without being forced out of alignment. Do not assume that a setting approved on one textile layer will also work across a pocket corner, folded seam or reinforced zone. Test the real construction. The Nickel (Silver) finish can create different levels of contrast on denim and dark materials, while the 4 mm diameter may appear visually more compact on heavy surfaces. Areas exposed to constant abrasion, sitting pressure, bag-base contact or footwear flex should receive additional wear testing before the design is released for production.
The Nickel (Silver) 4 mm rivet pearl can be used when bridal or eveningwear requires an alternative to the conventional white pearl look. Its bright, clean, modern and cool metallic character can create controlled accents over white, black, grey, blue, navy, fuchsia and cool pastels and other carefully selected fabrics. The 4 mm size can be applied at different densities around fine borders, small motifs, lettering and logo contours, dense dotted patterns and delicate surface embellishment. Plan access to the reverse side before lining and construction are completed. If a broad area will be covered, evaluate not only the appearance but also the effect on drape and flexibility. Metallic and reflective surfaces can look different under stage, event or studio lighting, so approve the sample under lighting that resembles the final environment whenever possible.
Rivet pearls are not limited to formal garments. They can be used on shirt collars, cuffs, knitwear shoulders, sweatshirt panels, jacket pockets or decorative strips to create a more everyday design language. The 4 mm small and controlled scale can be made subtle or more expressive by changing the number and spacing of pearls. Knit structures require additional testing because the nail can move between loops differently from the way it penetrates a woven textile. Check for dropped stitches, loss of stretch and distortion. On lightweight shirts, inspect reverse-side comfort in areas close to the skin. For repeat production, a fixed positioning template helps maintain alignment and spacing from one garment to the next.
Bag and footwear constructions can include felt, foam, interfacing, synthetic leather and quilted layers in addition to fabric. Measure the total layer structure before setting and reproduce it in the sample. The nail should close without leaving a sharp projection on the inside. On bags, decorative panels are often more suitable than handle grips, bases, corners or high-abrasion contact points. Footwear flexes and rubs more aggressively than many garments, so wear testing is particularly important. Hair accessories, brooch bases and decorative bands can also be considered if the substrate can accept mechanical nail setting. This is not an adhesive flatback pearl; projects that require adhesive-only application should use a different component type.
Layout discipline is as important as the component. In digital artwork, represent each pearl at the real 4 mm diameter instead of using symbolic dots that do not reflect actual scale. Straight borders can be controlled with fixed guides, while curved motifs benefit from flexible templates or full-size printed patterns. Use identical reference points for mirrored left and right garment parts. The 4 mm size works well for fine borders, small motifs, lettering and logo contours, dense dotted patterns and delicate surface embellishment, but very tight corners can cause center points to overlap. Increase the motif or remove selected points rather than forcing pearls too close together. Dense layouts across body movement zones can reduce textile flexibility, so areas such as elbows, waistlines, knees and underarms should be reviewed separately.
When the Nickel (Silver) pearl is used with other hardware, a matching color name is not enough to guarantee an exact visual match. Black nickel, nickel, gold and cream references can differ in tone, gloss and surface texture between suppliers and lots. Compare the pearl physically with zipper teeth, sliders, snaps, eyelets, buckles, chains or metal logos on the intended fabric. The Nickel (Silver) bright, clean, modern and cool metallic finish may appear brighter against matte textiles and more subdued beside satin or coated materials. For e-commerce photography, show front, angled and close views where possible. In large production runs, securing the required quantity from the same lot can help reduce visible variation between batches.
Production speed depends on the entire workflow, not only on press cycle time. Plan the flow of pearl bodies and nails, die cleaning, approved samples, positioning templates and in-process inspections together. Rather than opening the full main pack at the workstation, operators can work from smaller labelled trays containing the quantity required for the current lot. Each tray should show INC0004SLN, 4 mm and Nickel (Silver). Once the first article is approved, record press settings, fabric layer count and die reference. Pull inspection samples at defined intervals and check centering, surface marks, nail closure and pattern alignment. Discovering a systematic problem during the run is far less costly than finding it after the whole batch has been completed.
Front-side appearance is only one part of inspection. Confirm that the pearl is centered, free from cracks and compression marks, aligned with the approved pattern and not mixed with another finish or diameter. On the reverse, verify that the nail has closed securely and does not create a hazardous projection. Gently check selected pearls for unwanted movement. If a pearl is loose, review die alignment, nail orientation and fabric thickness before simply increasing pressure. Excess pressure can damage the acrylic body. Scratches on the Nickel (Silver) finish may become more visible under angled light, so inspection should not be performed from only one viewing angle. Long production runs benefit from scheduled sample checks and routine cleaning of die faces.
A strong-looking setting at the press does not by itself predict performance throughout the life of the garment. The final article may be washed, dry-cleaned, ironed, flexed or exposed to abrasion. Where those conditions matter, test the assembled sample using the intended care process. Do not place a hot iron directly on the acrylic pearl. The accessory may respond to temperature differently from the base fabric. If industrial washing or dry cleaning is planned, validation should use the real process rather than an assumption. Care labeling should consider the full assembled product, not only the textile. There is no single universal wash guarantee because performance depends on fabric structure, correct setting, pressure and care method.
Pearl diameter changes the visual language of a motif. A 4 mm pearl is small and detailed, a 6 mm pearl is medium-scale and clearly visible, and an 8 mm pearl creates a stronger raised statement. INC0004SLN is 4 mm, so it is intended for a small and controlled result. The same motif made with smaller pearls can use more points and create smoother contours; larger pearls use fewer pieces but draw more attention. Increasing diameter also changes contact area, pattern density, die requirements and theoretical output per pack. If the design team is unsure, compare the three sizes on a small section of the real production textile rather than deciding only from screen images.
Small decorative components on baby and children's products require a separate safety assessment. Attractive appearance and easy setting do not by themselves establish suitability. Consider detachment risk, age group, product use and any relevant safety requirements in the target market. On fine baby fabrics, inspect reverse-side comfort and consider whether the attachment area needs structural support. Where required for the product category, use appropriate retention or pull testing on the finished article. This product description does not replace regulatory testing or certification. The fact that a pearl is 4 mm does not automatically make a particular children's application safe. The manufacturer remains responsible for validating the final product placed on the market.
Catalog data can accurately state diameter, finish, material and pack quantity, but it cannot fully represent every combination of fabric, interfacing, layer count, press, die and operator technique. A physical sample therefore remains one of the most important production controls. Build the sample using the actual textile and the same construction layers as the finished product. Review color under natural and artificial light, flex the area and, where relevant, complete a care test. Keep a customer-approved or internally approved sample as the reference for the production run. If fabric or color changes, do not assume that the previous approval automatically applies. A short sampling stage is usually much less expensive than correcting a large batch of incorrectly set components.
One of the most frequent errors is using a die that shares the nominal diameter but has the wrong cavity shape. Another is applying high pressure before testing the acrylic body and textile. A third is inserting the nail off-center and forcing it to close at an angle. Long freehand rows without measured references can drift visibly. Placing pearls too closely on stretch fabrics can restrict movement. Mixing different diameters or finishes in unlabelled trays creates obvious quality problems. Dirty die faces can mark many components in sequence. Most of these issues are prevented more effectively through sampling, clear work instructions, templates and organized workstations than by attempting repairs after setting.
If a pearl feels loose, first confirm the correct nail, total fabric thickness and die alignment. Increasing pressure should not be the automatic first response. If the pearl sits at an angle, inspect upper and lower die alignment, fabric position and nail entry angle. Circular marks on the surface may indicate that the cavity is supporting the acrylic body incorrectly or that pressure is excessive. Puckering around the setting point may indicate a fabric-structure or pattern-density problem. A sharp reverse projection can indicate incomplete closure or a layer structure that does not match the system. Troubleshoot by changing one variable at a time so the real cause can be identified rather than hidden by multiple simultaneous adjustments.
Store acrylic pearl bodies and stainless nails in clean, dry and clearly labelled containers. Every working tray separated from the original pack should retain INC0004SLN, 4 mm and Nickel (Silver) identification. Do not mix 4, 6 and 8 mm pieces even when they appear similar while loose. Artificial lighting can also make finishes look closer than they really are, so labeling provides protection beyond visual checking. Avoid placing heavy loads on pearl containers. During stock counts, pearl and nail quantities should remain reasonably balanced; a large difference can point to handling loss or incorrect pairing. Keeping a small labelled service reserve can be useful for later repairs or repeat styles.
Base purchasing calculations on the approved final pattern, not on an early concept. Count the real number of pearls used per item and multiply by the production quantity. If a style uses 12 pearls and the order is 100 units, the theoretical requirement is 1200 pieces before samples, rejects and spares. If 25 pearls are used on 100 units, the theoretical requirement is 2500 pieces. Compare the total with the 1250-piece pack size and round purchasing upward rather than downward. Add a realistic safety allowance. Where finish continuity is important, avoid planning so tightly that the last part of a production run must be completed from a different lot.
The 1250-piece pack provides a clear material unit for workshop and professional production planning. Purchasing documents should identify INC0004SLN, 4 mm / 0.16 in diameter, Nickel (Silver) finish, acrylic body, stainless nail and 1250 pcs/pack rather than simply stating “pearl.” Using the model reference reduces the risk of ordering another diameter or finish on repeat jobs. If the factory records real waste rates, future orders can be based on actual consumption rather than theoretical quantity alone. Large projects should consider lot continuity, production timing and service stock at the purchasing stage. When a new textile or tooling combination will be used, include sampling time in the production schedule.
Before production starts, confirm that the die physically supports the 4 mm pearl shape, upper and lower parts are installed in the correct orientation, the press is centered and the bed height is suitable. Verify nail orientation, fabric layer count and pressure against the approved sample. Do not begin the full run before inspecting both sides of the first set piece. Clean fibers, oil residue or hard particles from the die cavity. If the textile moves during the stroke, use a positioning template or support method. When operators or shifts change, compare the first new piece against the reference sample. Recording changes to tooling or machine settings can significantly shorten setup time during repeat production.
A decorative location should be assessed for comfort and function as well as appearance. Underarm areas, seats, belt contact zones, bag handle grips, footwear flex lines and places exposed to continuous hard abrasion experience high mechanical stress. A single 4 mm pearl may look compact, but a dense field of pearls can stiffen a textile panel. Fit-test garments with the actual layout. On bags, plan reverse-side nail closure before the lining is permanently completed. Placement should therefore be decided with body contact, movement, abrasion and care processes in mind rather than from the front view alone.
The 4 mm diameter can be used for dotted gradients, stars, floral shapes, monograms, waves, outlines and geometric grids. Consistent center spacing is essential for a professional result. In digital artwork, draw the real pearl diameter and intended spacing instead of symbolic points. On large panels containing many pearls, divide the setting operation into controlled sections that begin from central references or primary guide lines. This reduces accumulated alignment error across the surface. High-density motifs in movement zones may need to be opened up. The contrast of the Nickel (Silver) finish against the chosen textile can make small alignment differences more noticeable, so positioning accuracy and template quality are as important as component quality.
A mechanically set rivet pearl uses a different workflow from a hand-sewn pearl. Press setting may reduce repetitive sewing time, but complete costing should also include die setup, positioning templates, sampling, operator time, in-process inspection and possible rework. The 1250-piece pack makes batch material cost easier to calculate. Repeat styles can benefit from saved templates and recorded machine settings. In very short custom runs, preparation can represent a larger share of total labor and should be reflected in quotations. Costing should therefore consider real process time and expected waste rather than only the unit purchase price of the decorative component.
Incorrect dies, excessive pressure, poor marking and mixed finishes can turn usable parts into scrap. Use trays with raised edges so small components are less likely to fall. Keep only the model and finish required for the current run at the operator station. Removing an incorrectly set pearl can damage the textile, so prevention is usually more economical than repair. In larger runs, record the number and cause of rejected settings. This information helps determine a realistic safety allowance for future purchasing and highlights recurring process problems. Store remaining components under the correct model reference rather than creating an unlabelled mixed pearl container.
Before ordering, confirm that the required diameter is 4 mm / 0.16 in, the intended finish is Nickel (Silver), and the 1250-piece pack quantity suits the production plan. Remember that the visible body is acrylic and the mounting nail is stainless. The workshop should have a physically compatible setting die and a press or hand tool that can operate it. Review textile thickness, stretch and access to the reverse side. If this exact combination has not been used before, allow time for sampling. For critical color coordination, compare the real component with the fabric and other hardware. Large runs may benefit from securing enough quantity from one lot and retaining a small service reserve.
Before releasing the job, combine the model, diameter, finish, pack, die and textile information in one clear work instruction. Compare the first production piece directly with the approved sample. If the fabric lot has changed, recheck thickness and surface behavior. Confirm the scale of any printed positioning template because printer scaling can change real center spacing. Do not leave other pearl models open at the same workstation. Record the press setup instead of relying on operator memory. These simple controls reduce the risk that a small decorative component such as INC0004SLN creates visible inconsistency across the whole production batch.
When the same pearl returns in seasonal or continuous collections, include the model code in the bill of materials. Generic descriptions such as “gunmetal pearl” or “cream pearl” are not precise enough because diameter and finish can be confused later. INC0004SLN identifies the 4 mm size, Nickel (Silver) finish and 1250-piece pack family. Attaching a real component to a physical sample card creates a more reliable color archive than a digital name alone. If a style is repeated months later, compare the new pearl lot with the original textile and approved reference. Small lot-to-lot variation can occur in commercial finishes, so critical programs should keep a visual approval step.
Photography is useful for selection, but do not determine diameter or color only from image scale. Review the real 4 mm size with a ruler or physical sample. The Nickel (Silver) finish can appear lighter or darker on different displays. For controlled collections, compare the real component, textile and other hardware under the same light. Camera white balance and surrounding reflections can also shift metallic or glossy finishes. The stated dimension should remain the primary reference for physical scale.
To reproduce the same result across shifts, define component orientation, die cleaning, setting sequence, sample inspection points and reject criteria. Keep an approved INC0004SLN reference at the workstation. New operators should prepare a small trial series before joining full production. This allows them to learn positioning, press response and template use in a controlled setting rather than learning on saleable goods. Clear standards improve both speed and consistency.
After the production run, retaining a small labelled quantity of INC0004SLN can support later repairs or matching. Finding the same size and finish months later is not always guaranteed. Store the service reserve with model code, date and, where possible, lot information. Do not mix visually similar 4, 6 and 8 mm components. If a part must be removed from an old garment, remember that removal itself can damage the textile, so the repair method should be tested carefully.
A technical specification should identify more than “pearl.” List INC0004SLN, 4 mm / 0.16 in, Nickel (Silver), acrylic body, stainless nail and 1250 pcs/Pack. This keeps purchasing, quality and production teams aligned. In collections containing several pearl diameters or finishes, model-code discipline prevents visible pattern mistakes. Adding the approved die reference to the bill of materials can also shorten setup time during repeat orders.
The visible pearl body is acrylic. The mounting nail is stainless. The product is a decorative textile component and is not a natural pearl.
INC0004SLN is supplied in a 1250-piece pack. Pearl bodies and matching stainless mounting nails are intended to be used as sets.
Use a setting die that physically matches the 4 mm pearl body and this nail geometry. A nominal diameter label alone does not guarantee compatibility, so sample testing is recommended.
The product can be evaluated on denim, stable woven fabrics, gabardine, felt, selected knitwear and other suitable accessory surfaces. Thickness and stretch vary, so test every new textile before bulk production.
The Nickel (Silver) surface has a bright, clean, modern and cool metallic character. Actual appearance can change with fabric color, lighting, screen settings and photography, so physical checking is recommended for critical matching.
Wash performance depends on the textile, setting quality, press setup and care method. Test the fully assembled sample under the intended wash or care conditions before commercial production.
| Product Information | |
| Product Type | Mounted Pearl |
| SIZE / DIMENSION | |
| Size mm / Ligne | 4 mm / 0.16" |
| Application | |
| Mounting Method | Installation is done using the mounting hardware specified on the product page. |
| MATERIAL | |
| Material | Acrylic |
| Kinds of Selling | |
| Package | It is sold in 1250 pieces / package and its multiples. |
E-Buttons produces custom accessories tailored to the needs of companies and brands. Size, shape, color and finish details can be planned individually based on a physical sample, a technical drawing, or your specific requirements.
Products prepared with your brand's own logo, text, color and surface finishes offer solutions that meet both your aesthetic and functional needs.
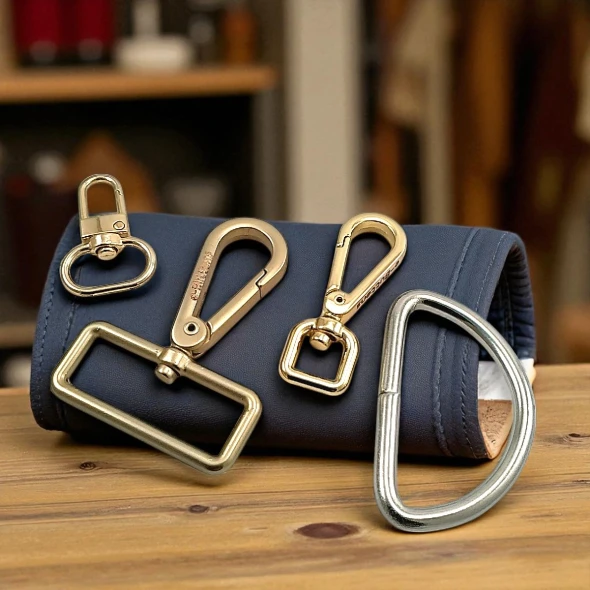
We produce zipper accessories custom to your brand, with logo pulls, custom shapes and a range of plating options.
We produce logo-branded, custom snap buttons in both press-on and sew-on options.
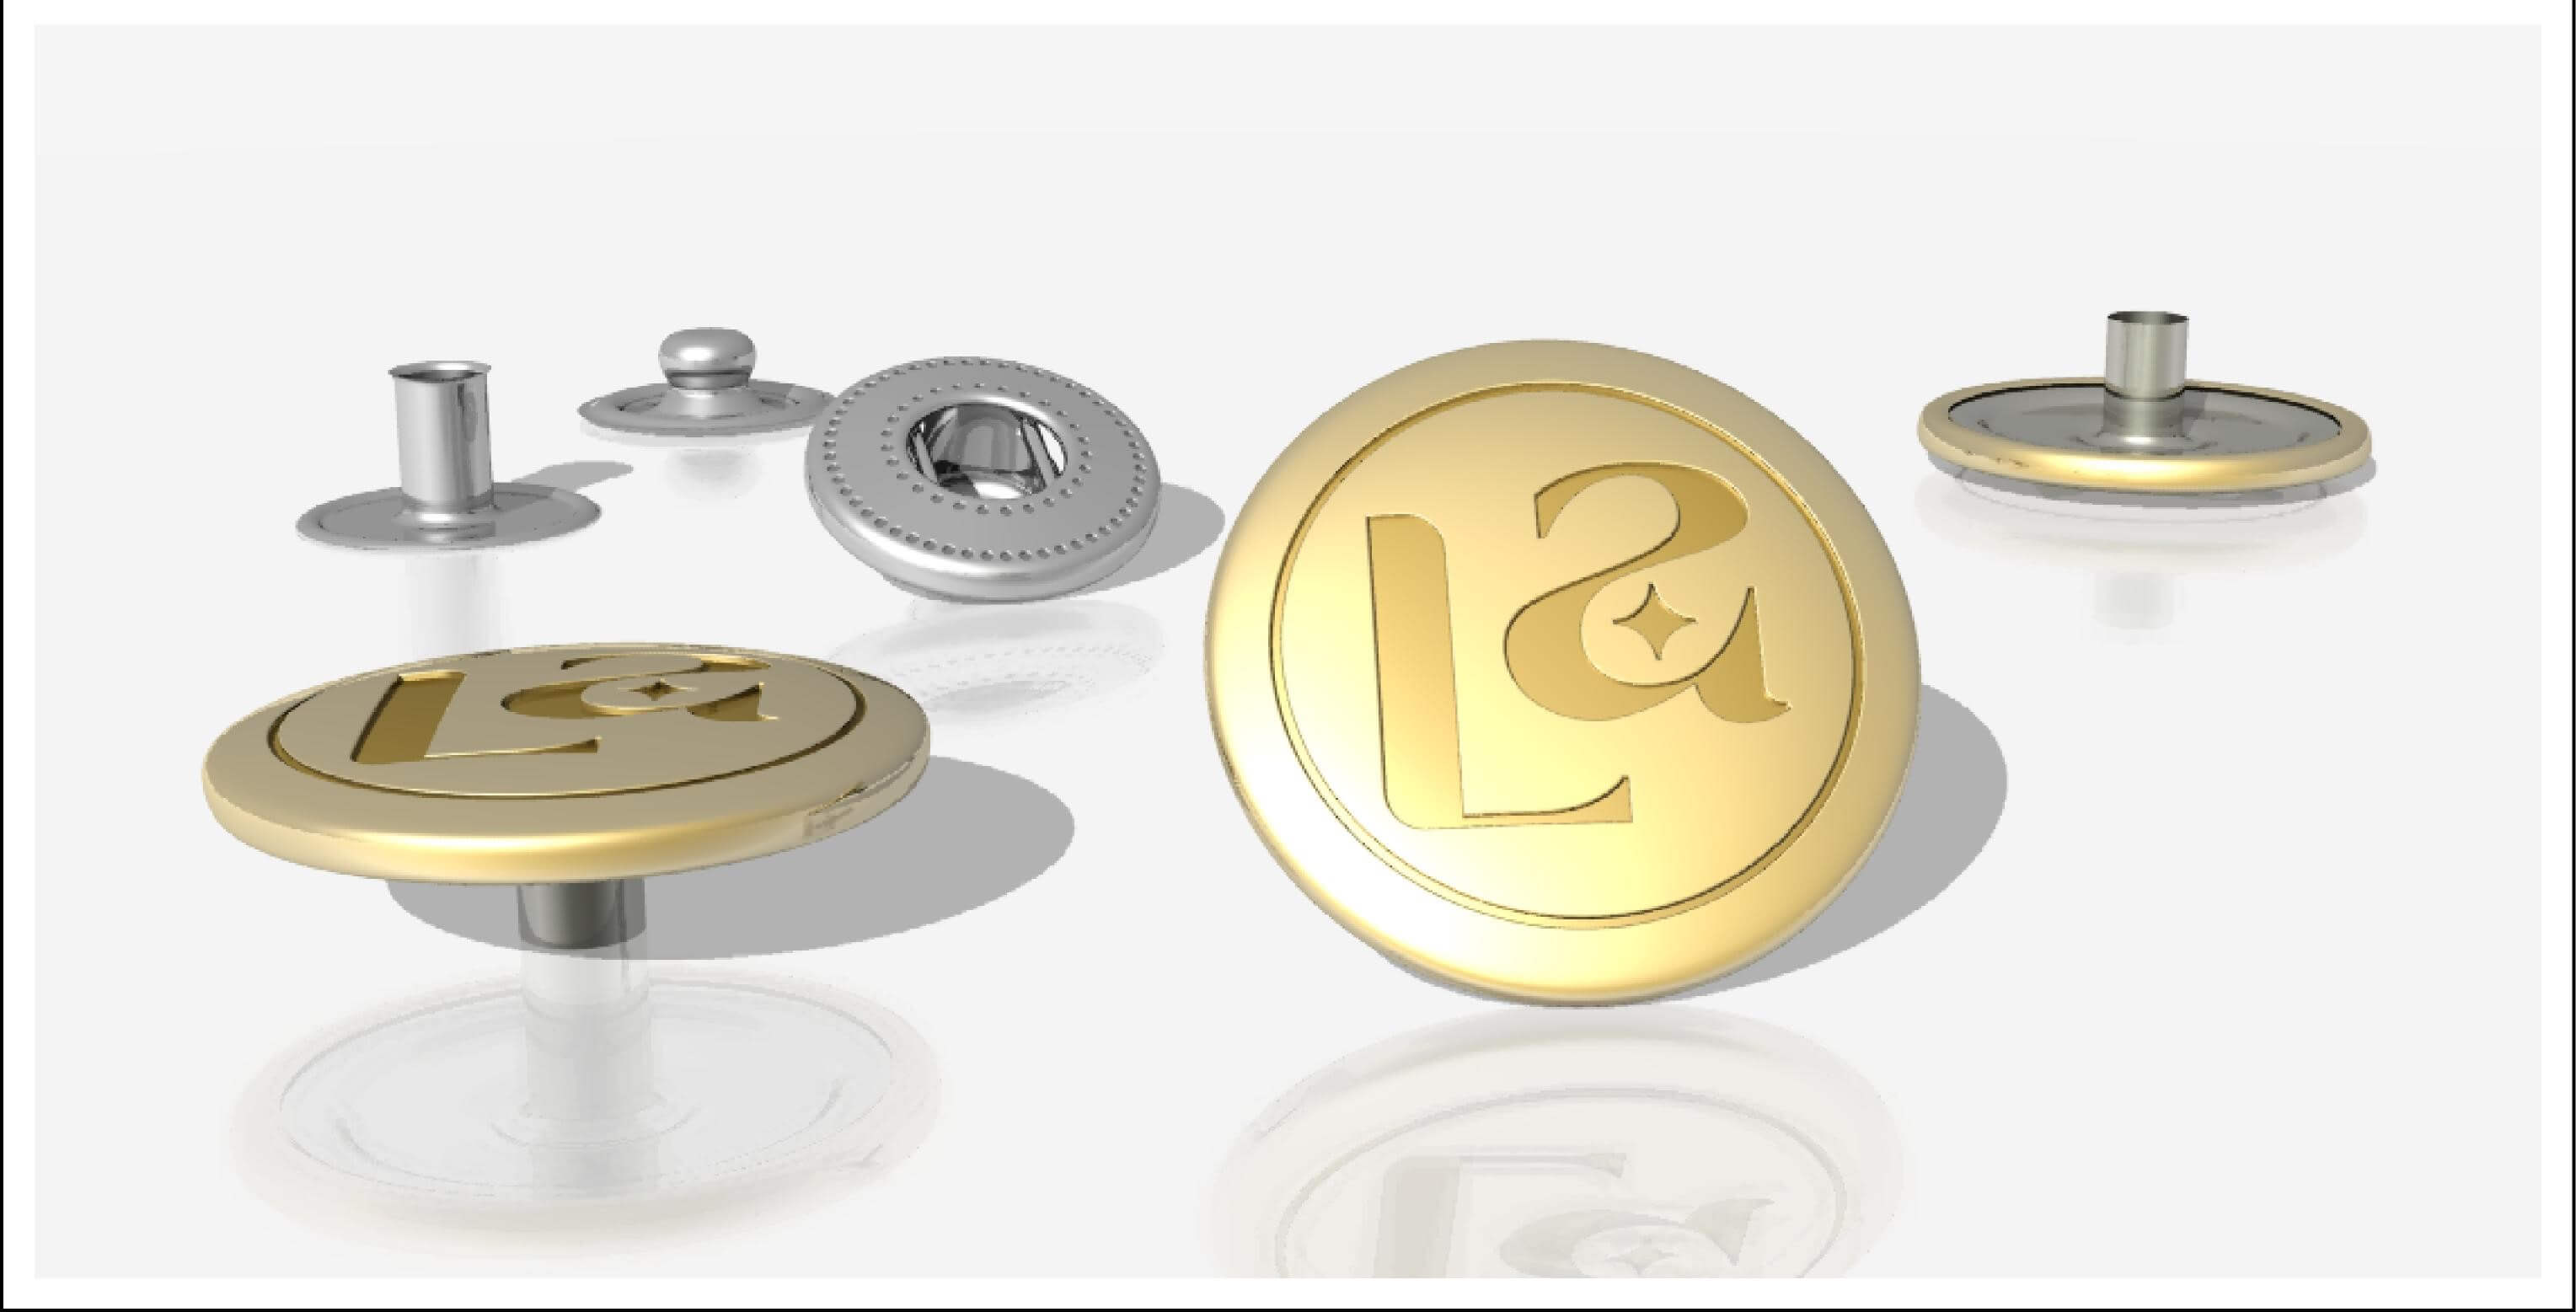
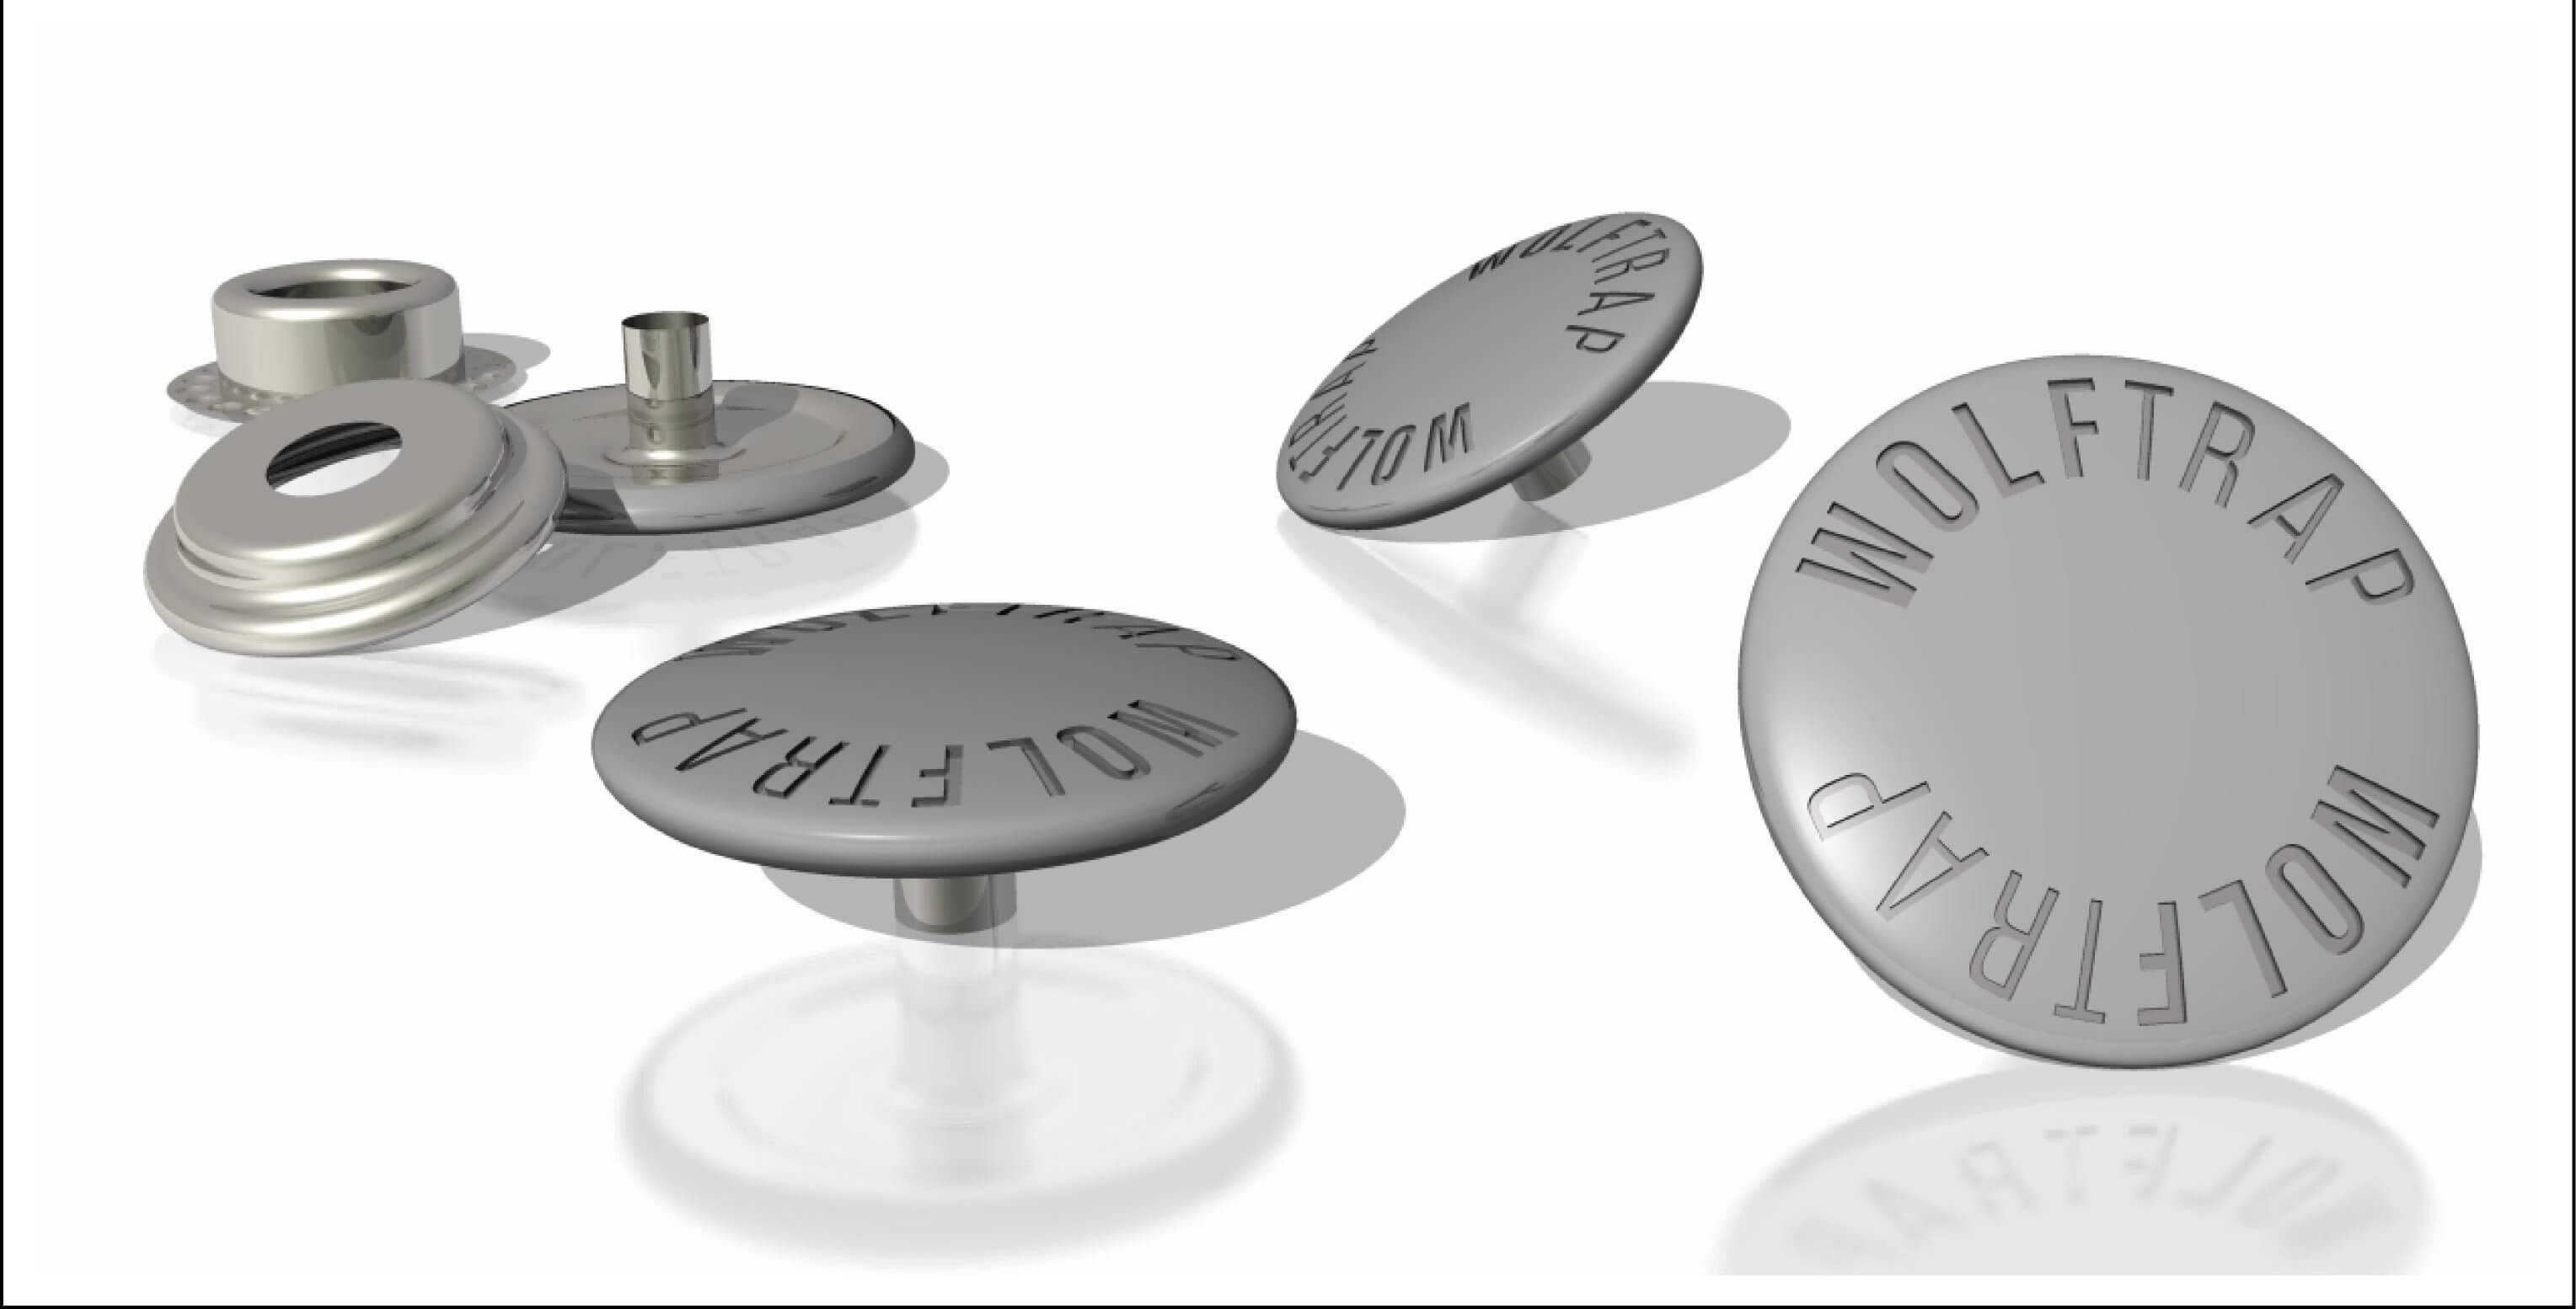

For both shank and sew-through button groups, production is available with your brand's logo, pattern and surface finish.
We offer logo-branded jeans buttons custom to your brand, made from zamak and brass.
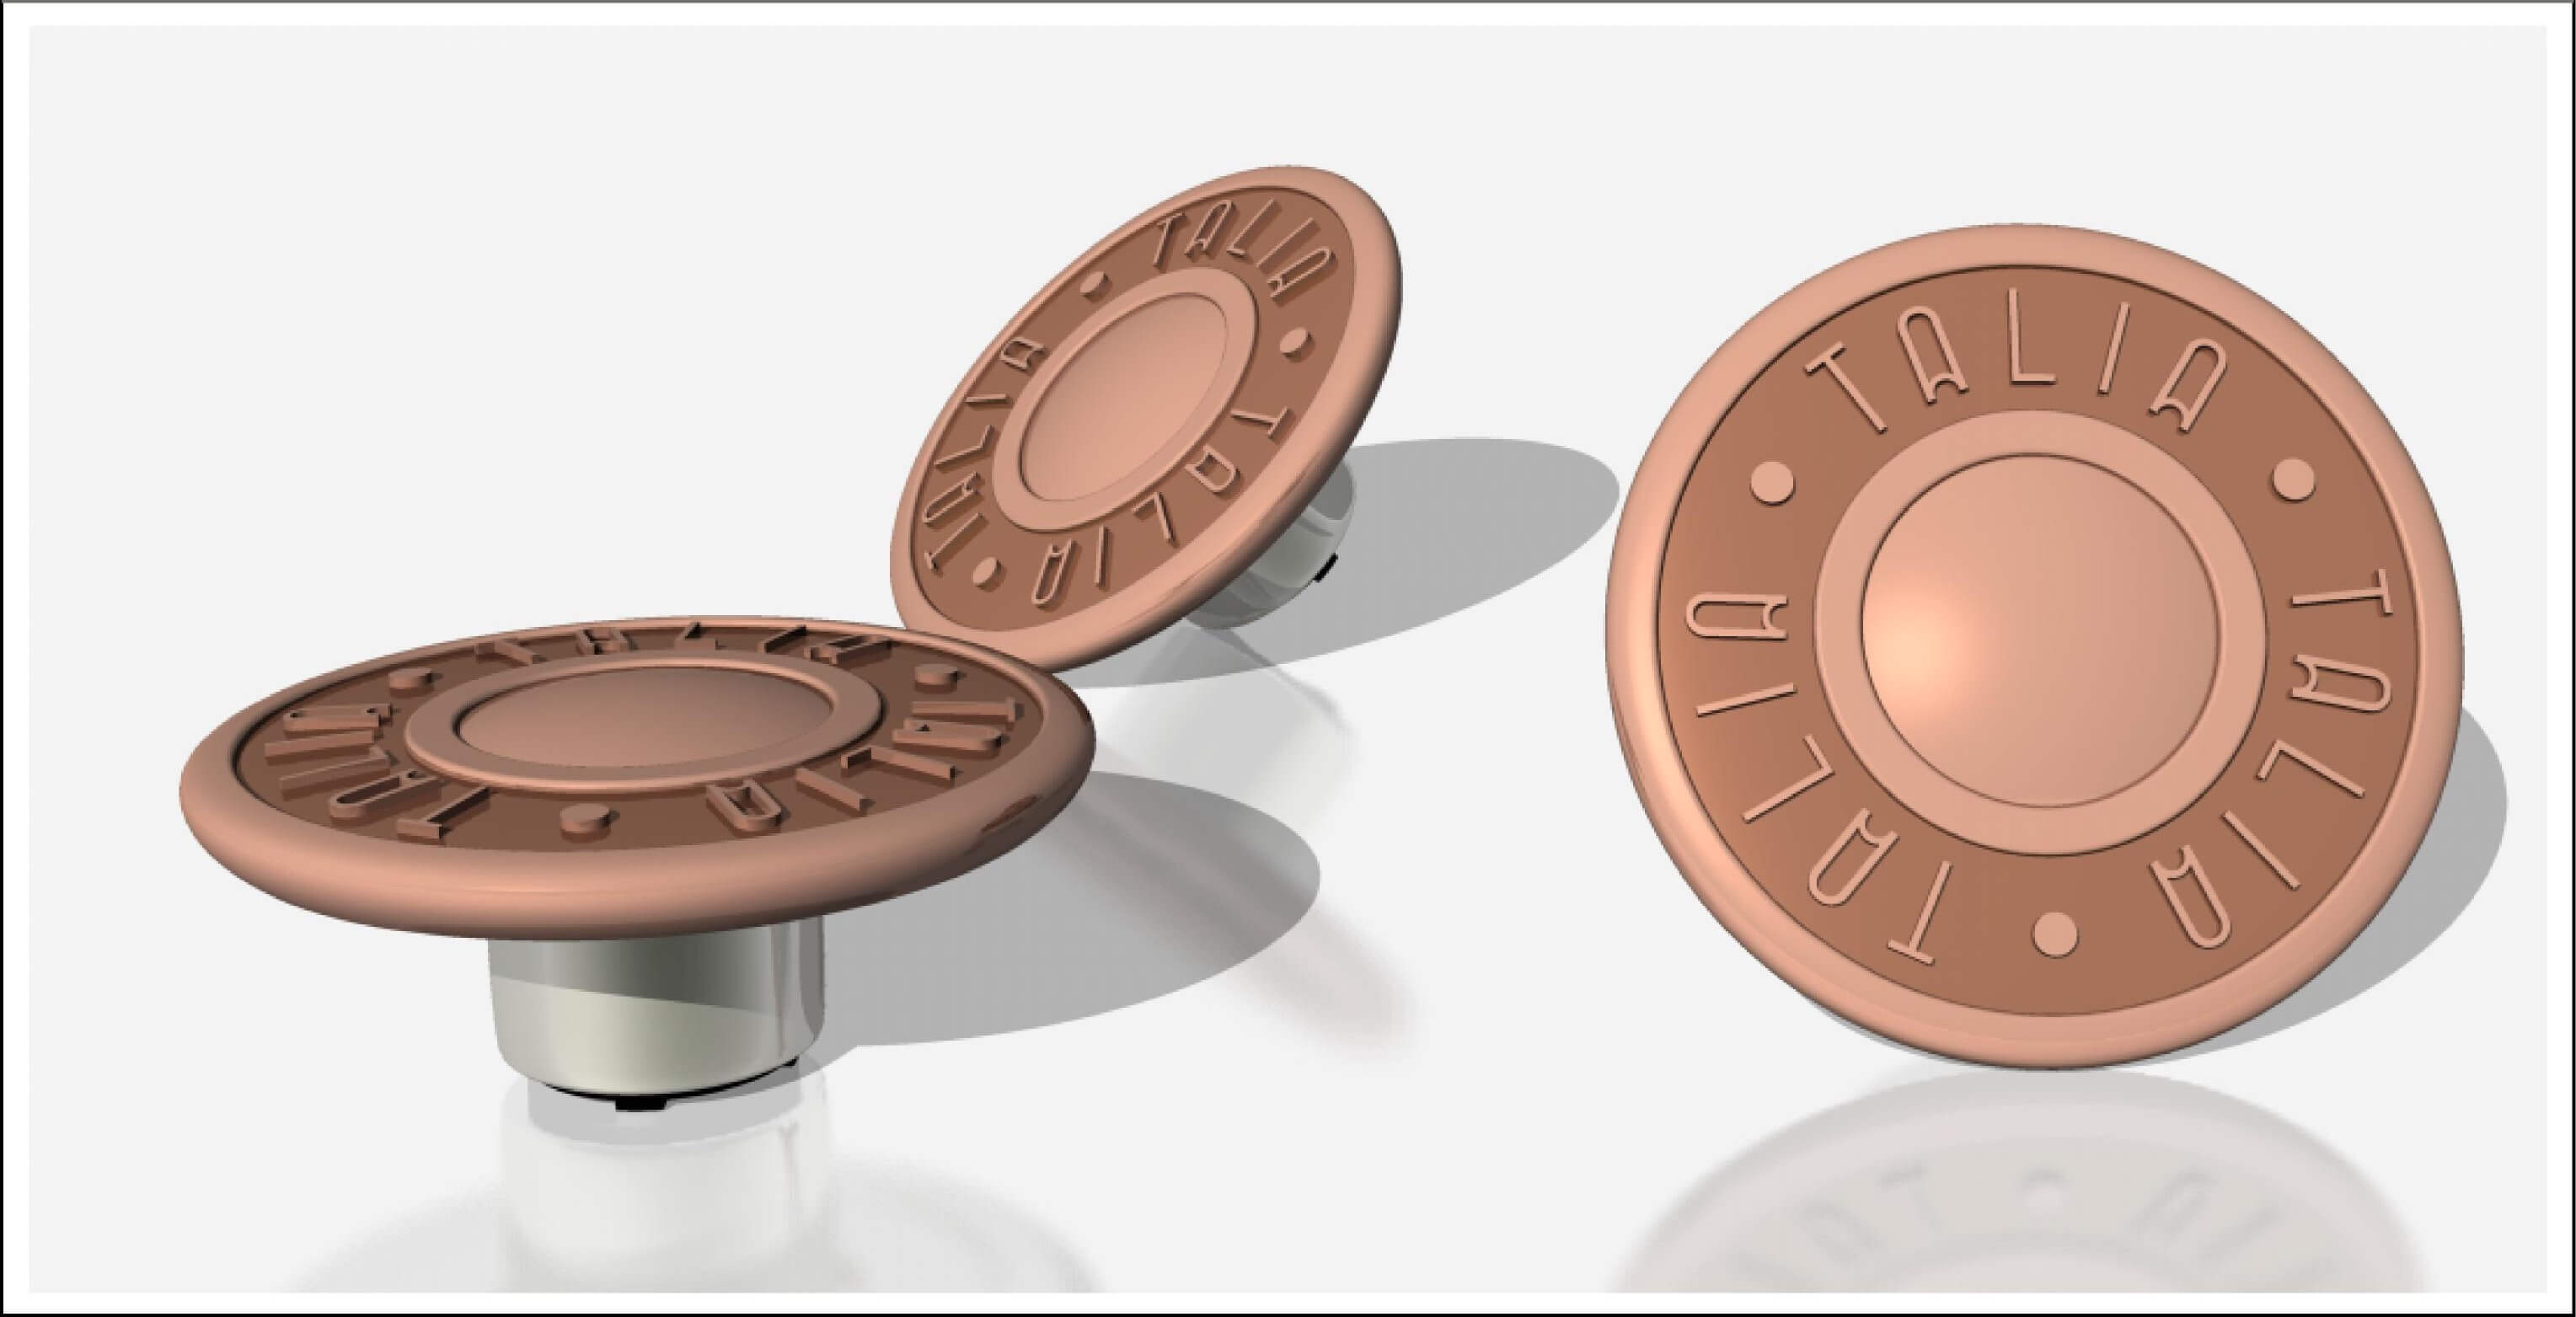
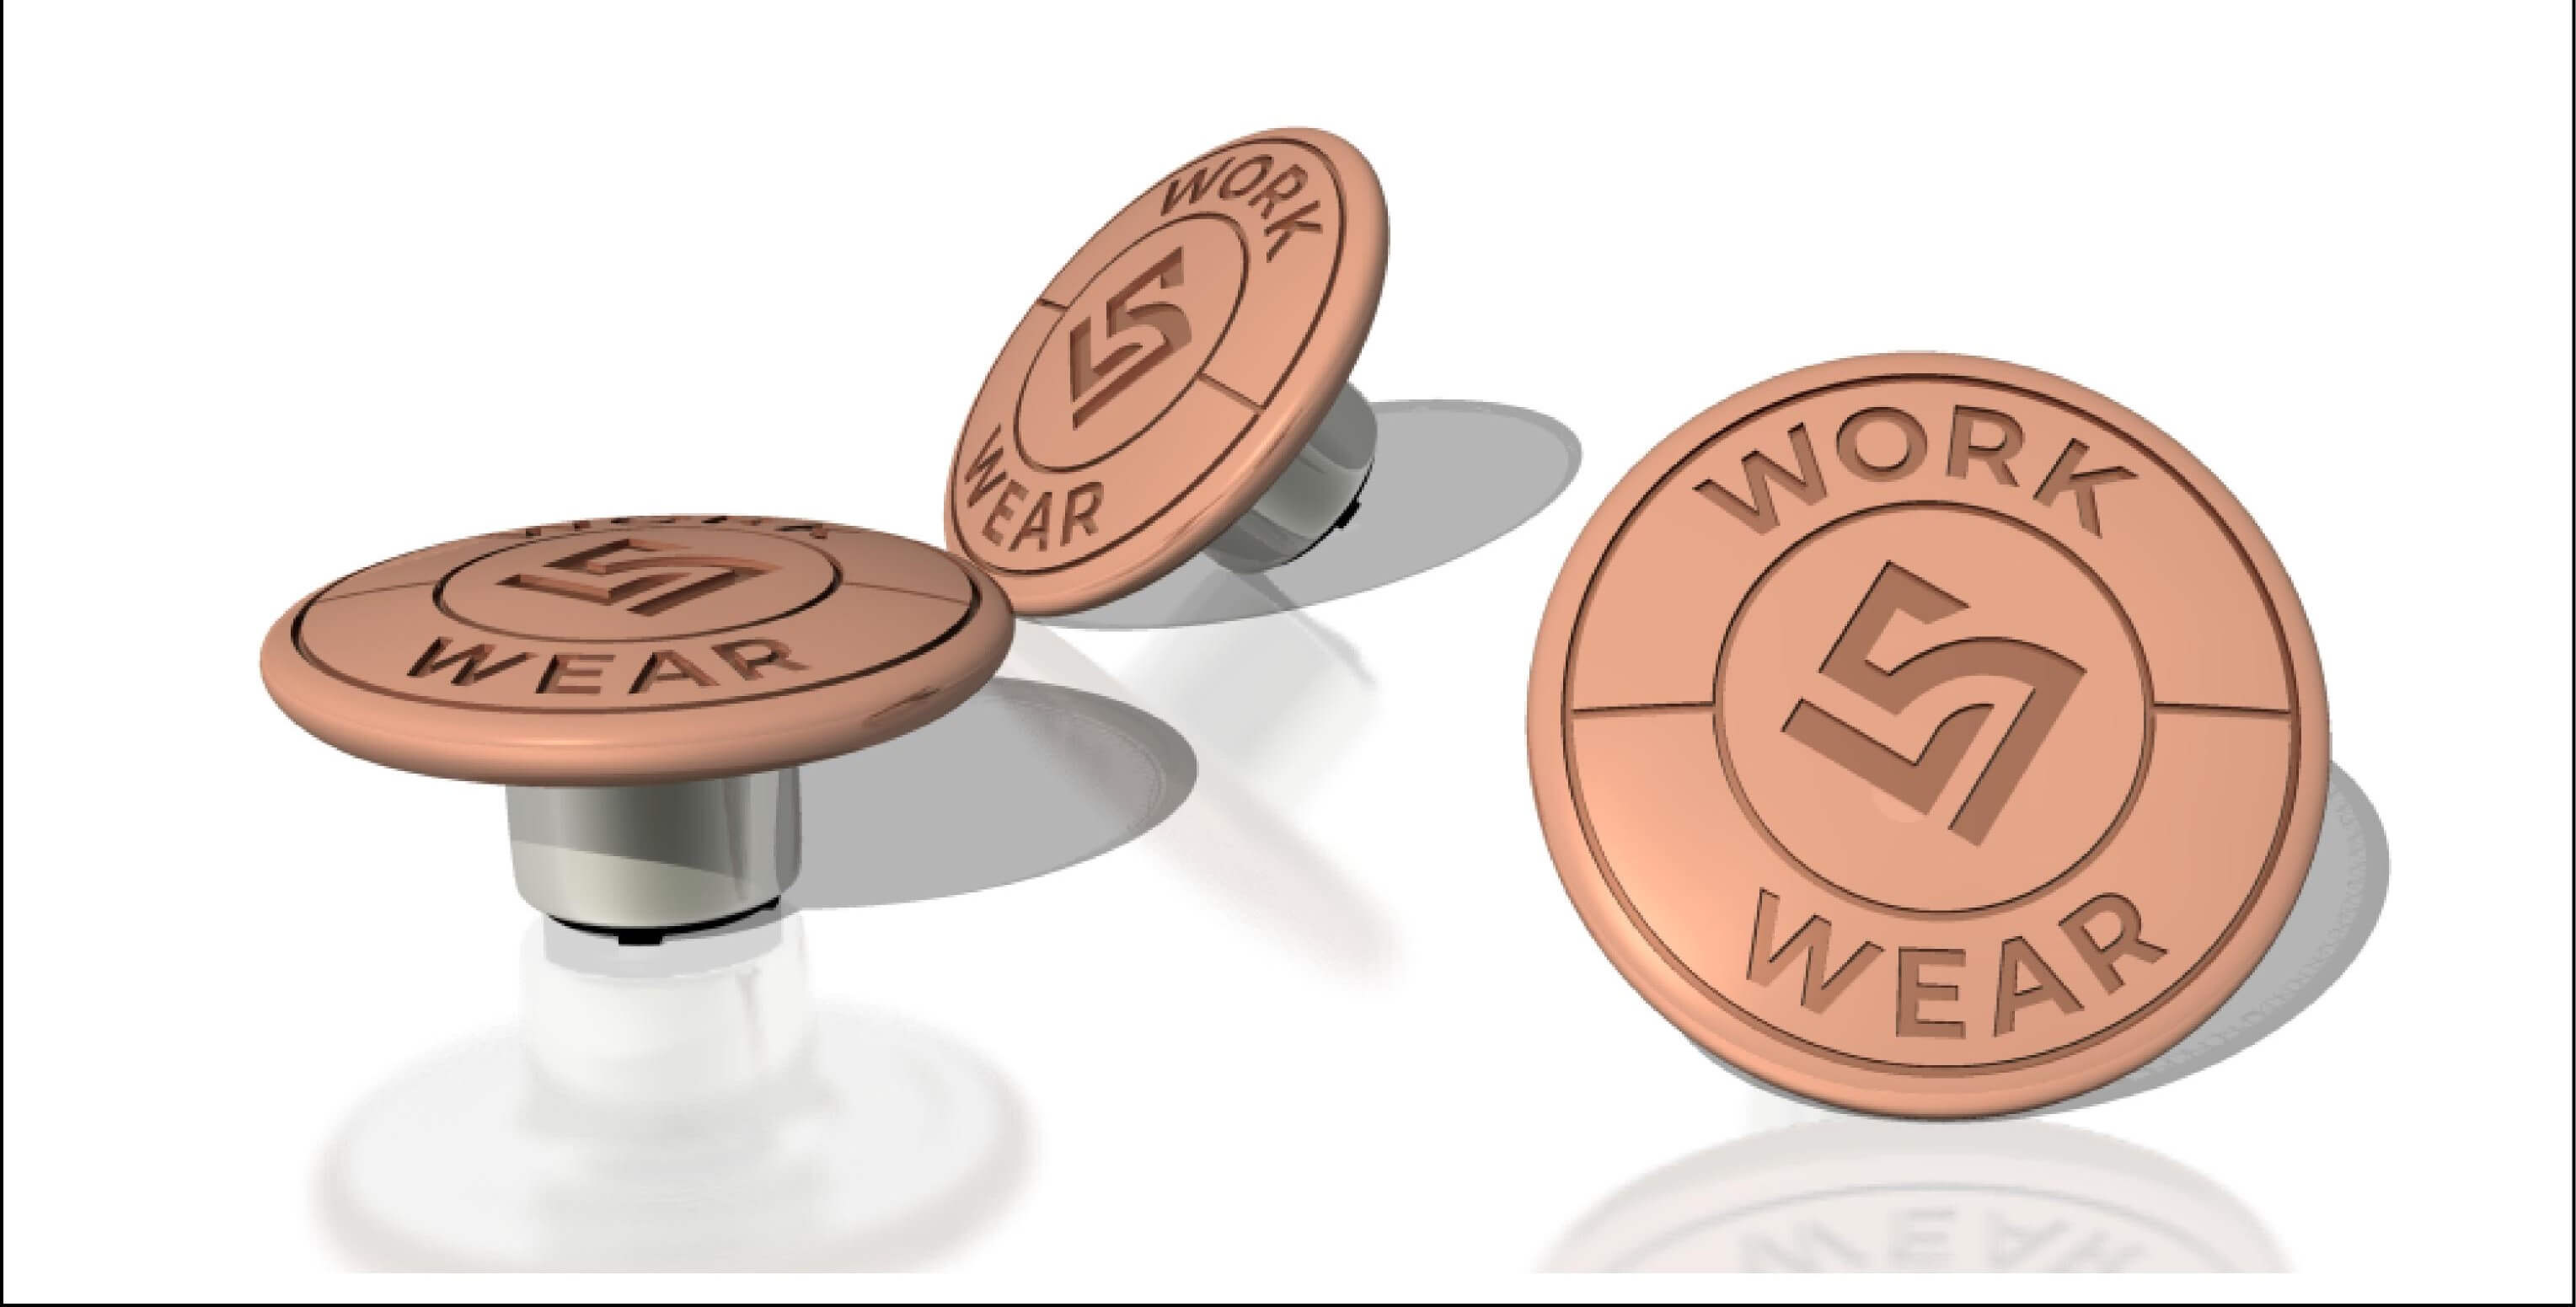

We produce branded, logo-marked rivets in a range of plating options, custom to your company.
Custom eyelets and grommets can be produced for your brand in a range of sizes, colors and surface finishes.
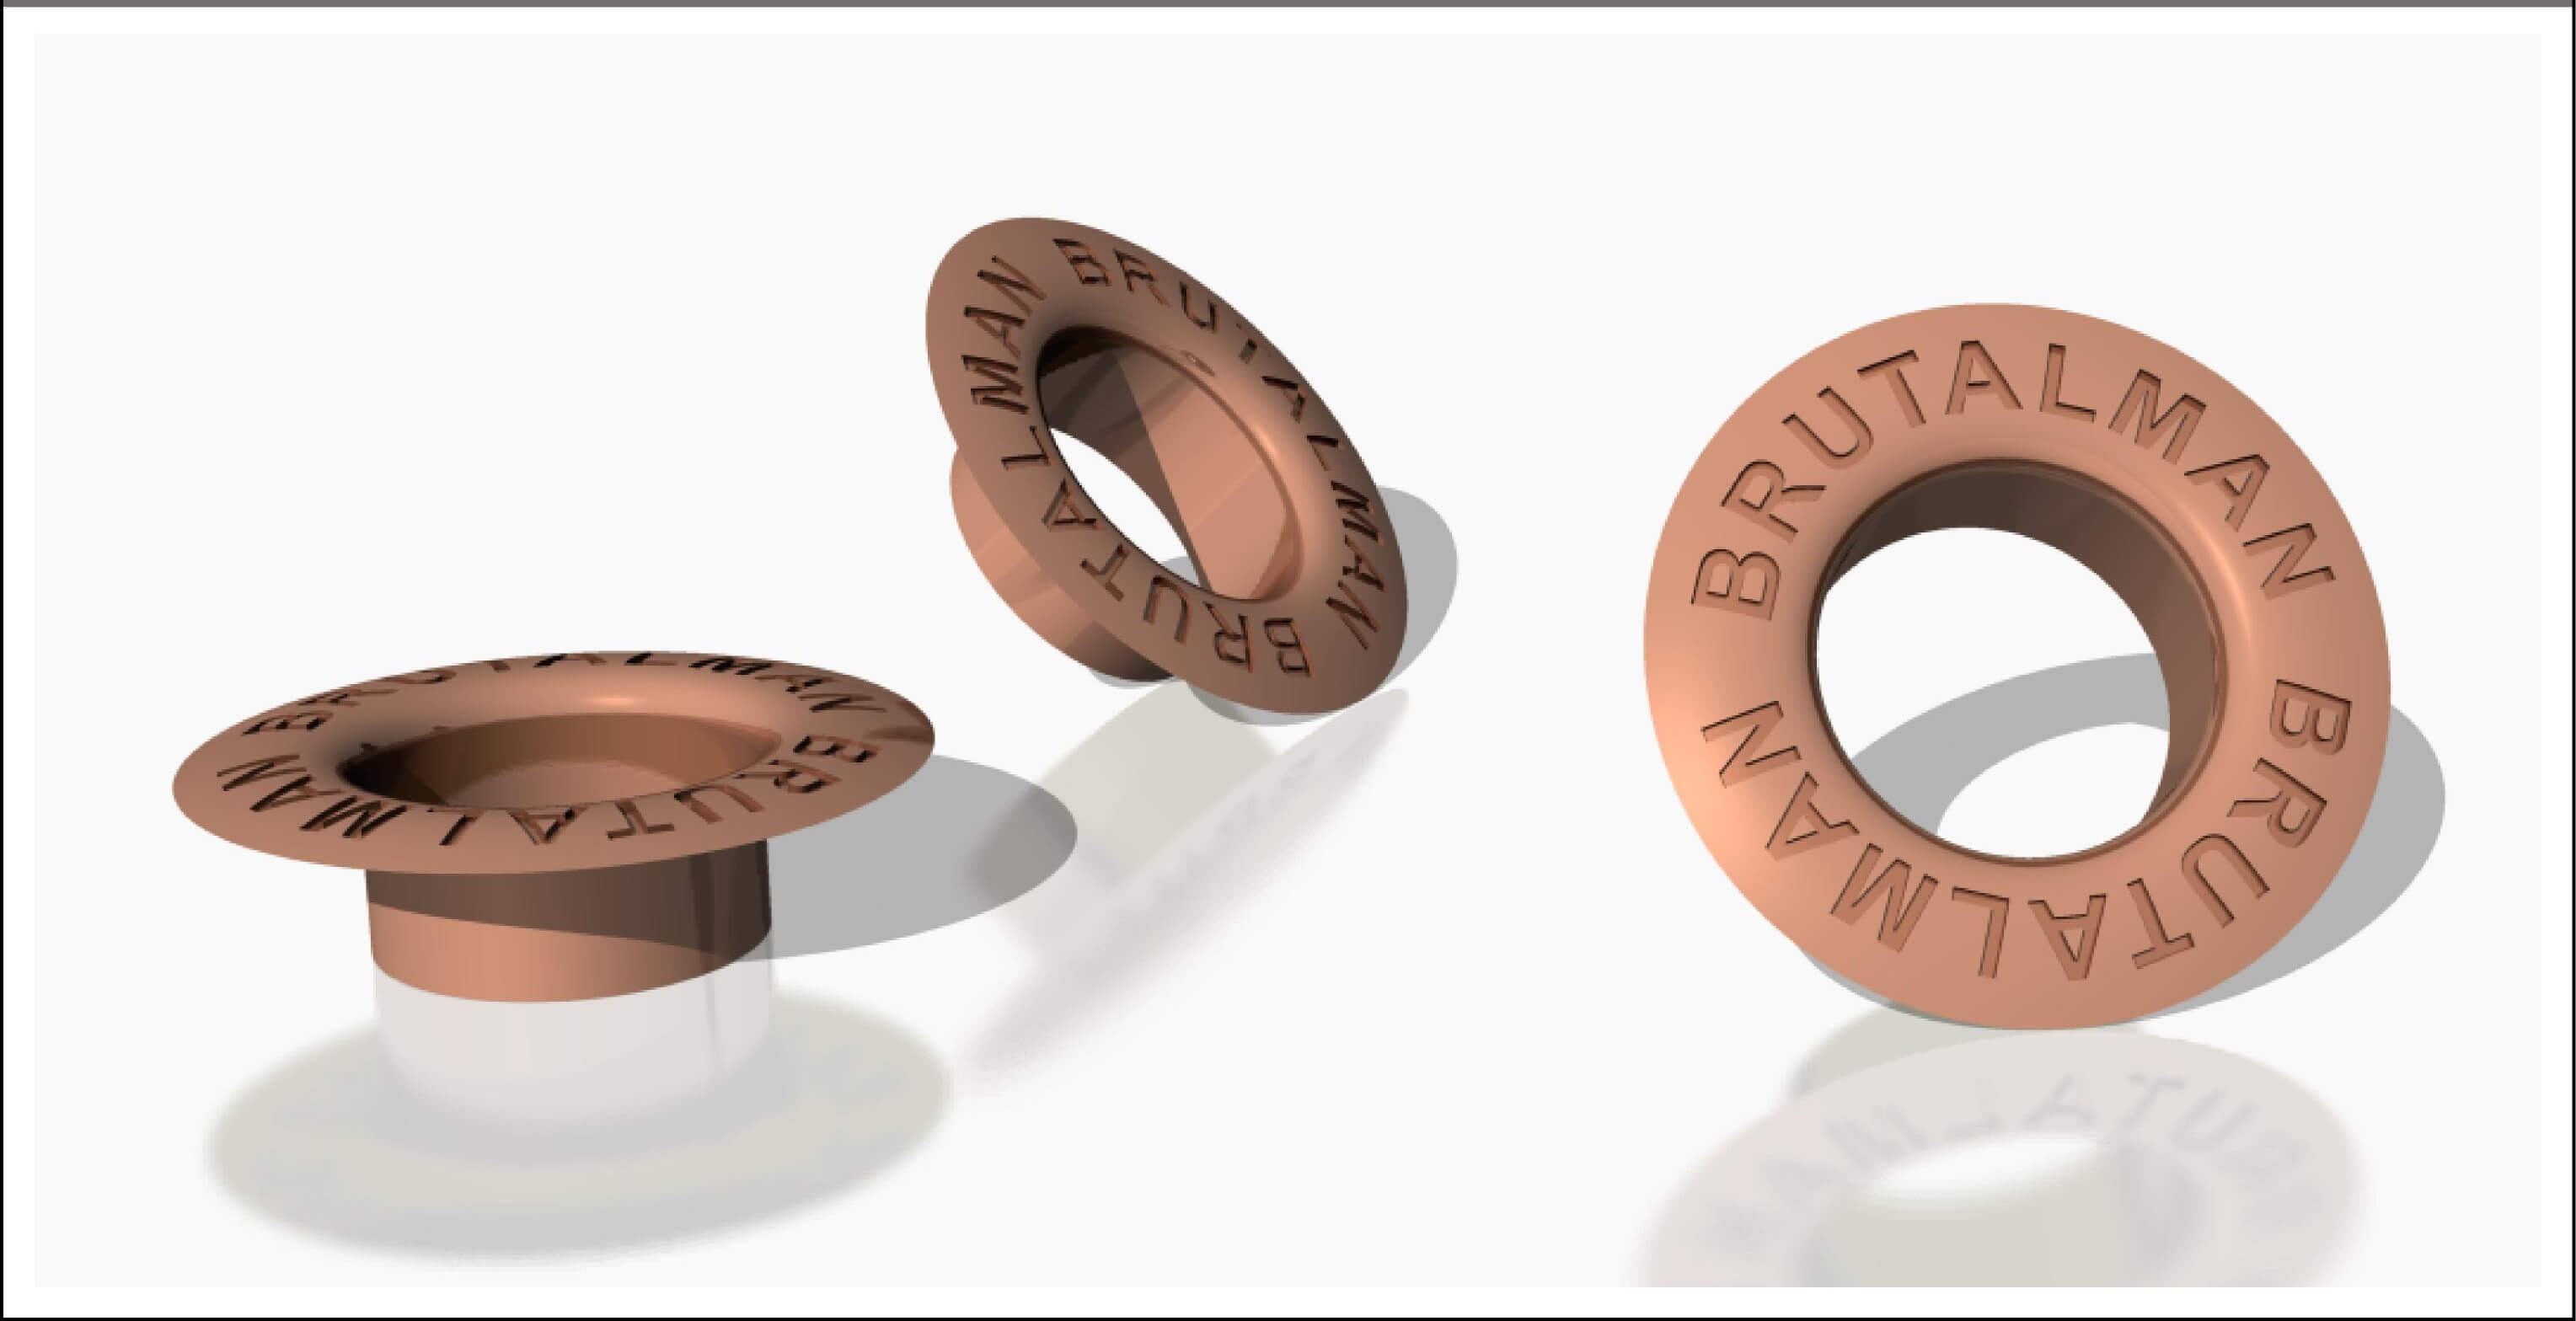
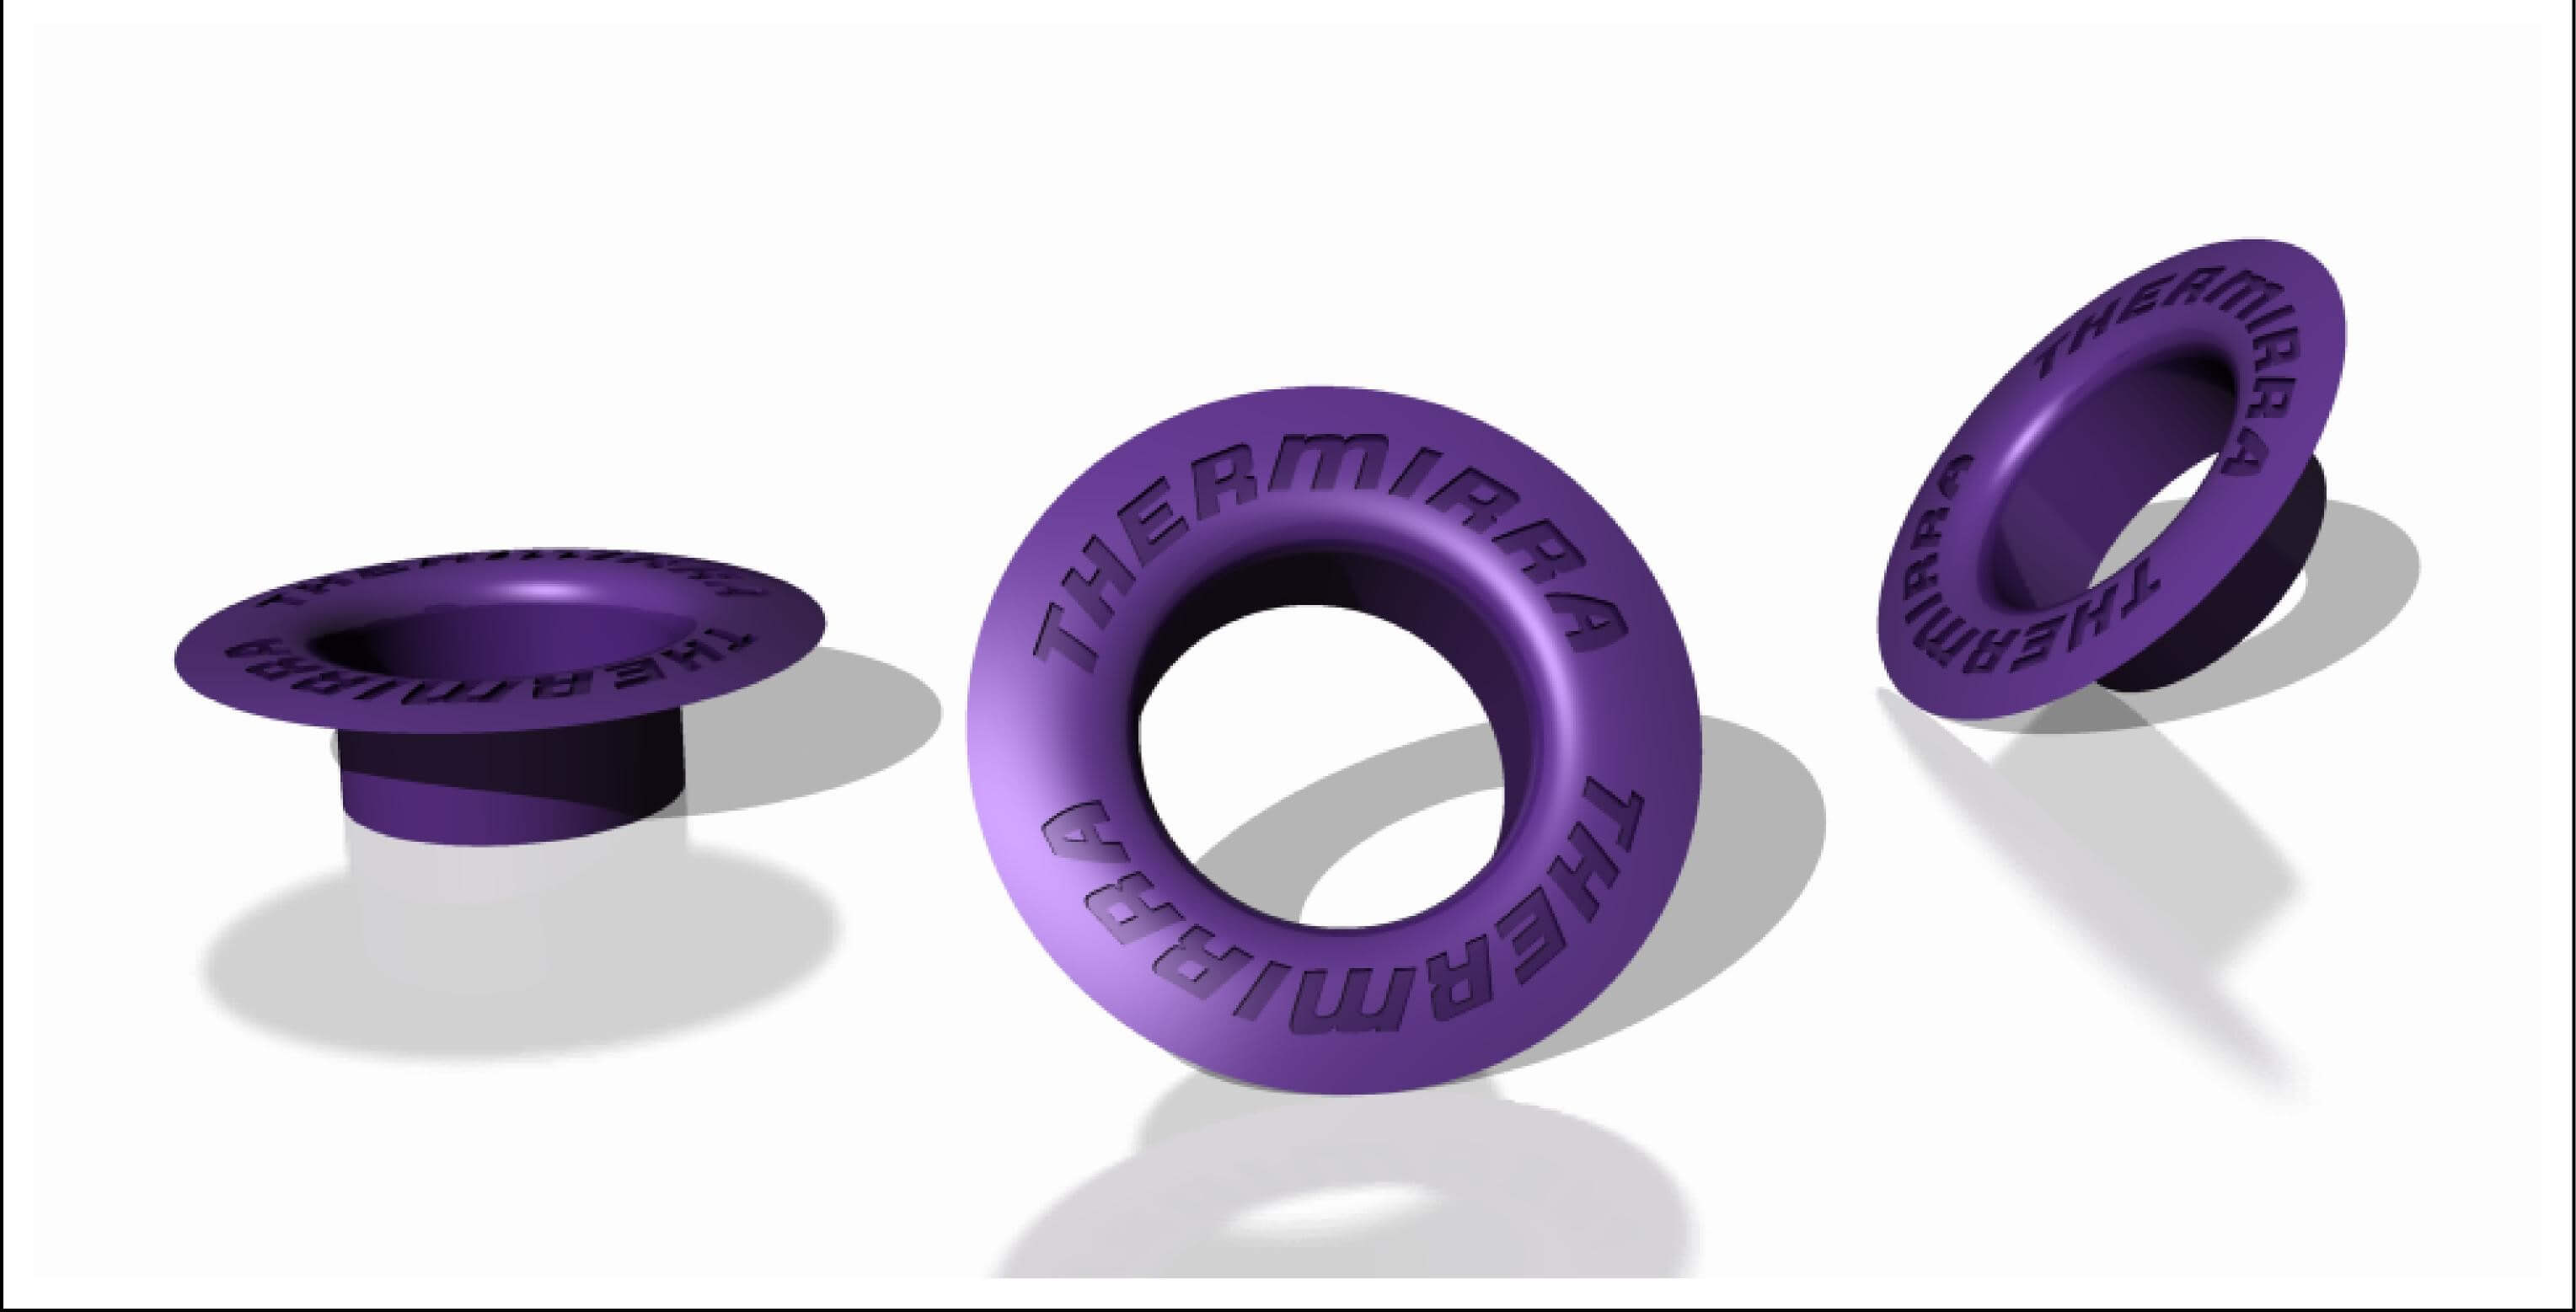
We offer buckle production in custom sizes and designs for your brand, for bra straps, belts and other applications.
Within our textile accessory groups, we provide custom production solutions that match your brand's design language.
For apparel, jewelry and accessory groups, we produce custom labels, ribbons and appliqués with your logo and text.
Before production begins, electronic mockups and sample work can be provided, depending on your request, to help with the approval process. Production and delivery times are planned according to the product group and the finish details involved.
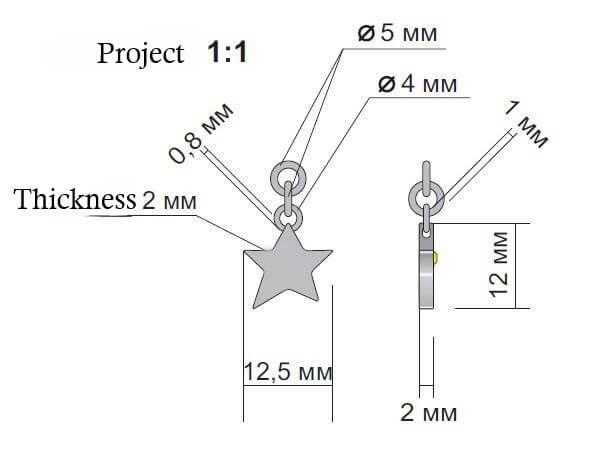
Sample drawings showing product materials, dimensions and finish details can be prepared upon request.
To help your ordering process go smoothly and transparently, we'd like to share a few important details with you.
The prices listed for our products apply to the standard color options offered. Colors outside the standard range, enamel work, stone details or similar custom work are charged in addition to the product price.
Any price difference is determined by the material and workmanship required for the chosen finish.
All prices shown apply based on the sales unit specified on the product page. This unit may vary by product — pack, gross, meter or piece.
For retail orders, packaged products are shipped in the color indicated on the pack. For products where a minimum order quantity is specified on the product page, the color you selected is only shipped when the order meets that minimum quantity. For color requests below the stated minimum, we ship from whichever colors are currently in stock.
If your order needs clarification on color or quantity, our team will reach out to you quickly by phone or another communication channel.
Production can be planned with the custom color finish you request; products are typically ready to ship within 3–4 business days. This timeframe may vary depending on the product type and the processes involved.
For orders at this volume and above, we're glad to offer your company a custom price quote.
For colors outside the standard range, or for special plating, enamel, stone and rhinestone products, please check the Special Plating Colors tab or contact us directly.
Product images may show slight tonal differences from the actual product due to lighting, screen settings and photography conditions.
We prepare your orders with care and deliver them to your address through reliable courier partners. During checkout you can see the estimated delivery time and shipping cost.
Eligible orders placed before 3:00 PM are handed over to the courier the same day.
Shipments are carried out via HepsiJet and Yurtiçi Kargo.
Eligible products can be returned within 15 days of delivery.
HepsiJet and Yurtiçi Kargo options suited to your delivery address are shown automatically at checkout.
Shipping cost is calculated based on the delivery address, package weight and the carrier selected. You can see the exact amount before completing your order.
Provided it meets the return conditions, you can return a purchased item within 15 days of the day you received it.
We ship E-Buttons products to individual and business customers around the world through international carrier options.
Prices can be displayed in TRY, USD and EUR.
Shipments are handled via AFS Kargo, DHL and FedEx.
You'll receive a tracking number as soon as your order is handed over to the carrier.
Credit card payment is accepted for international orders. Shipping cannot begin until payment is received and an order invoice has been issued.
Shipping cost is calculated based on the destination country, the selected carrier, package weight and package dimensions.
The total shipping cost is shown at checkout before you confirm your order.
International shipments are carried out via AFS Kargo, DHL and FedEx. Options suited to your address and order will be shown at checkout.
For business or high-volume orders, contact Customer Service to discuss alternative shipping options.
Customs duties, import taxes, handling fees or other charges may apply in the destination country.
Because these charges vary by country, they cannot be calculated in advance by our system.
Any customs duties, import taxes, storage fees, handling charges or other costs that arise in the destination country are the customer's responsibility.
We do not accept returns, cancellations or refunds resulting from customs duties, import costs, or the recipient's failure to complete customs clearance.
Let us help you quickly with product, size, and quantity questions.